Quickstart Guide
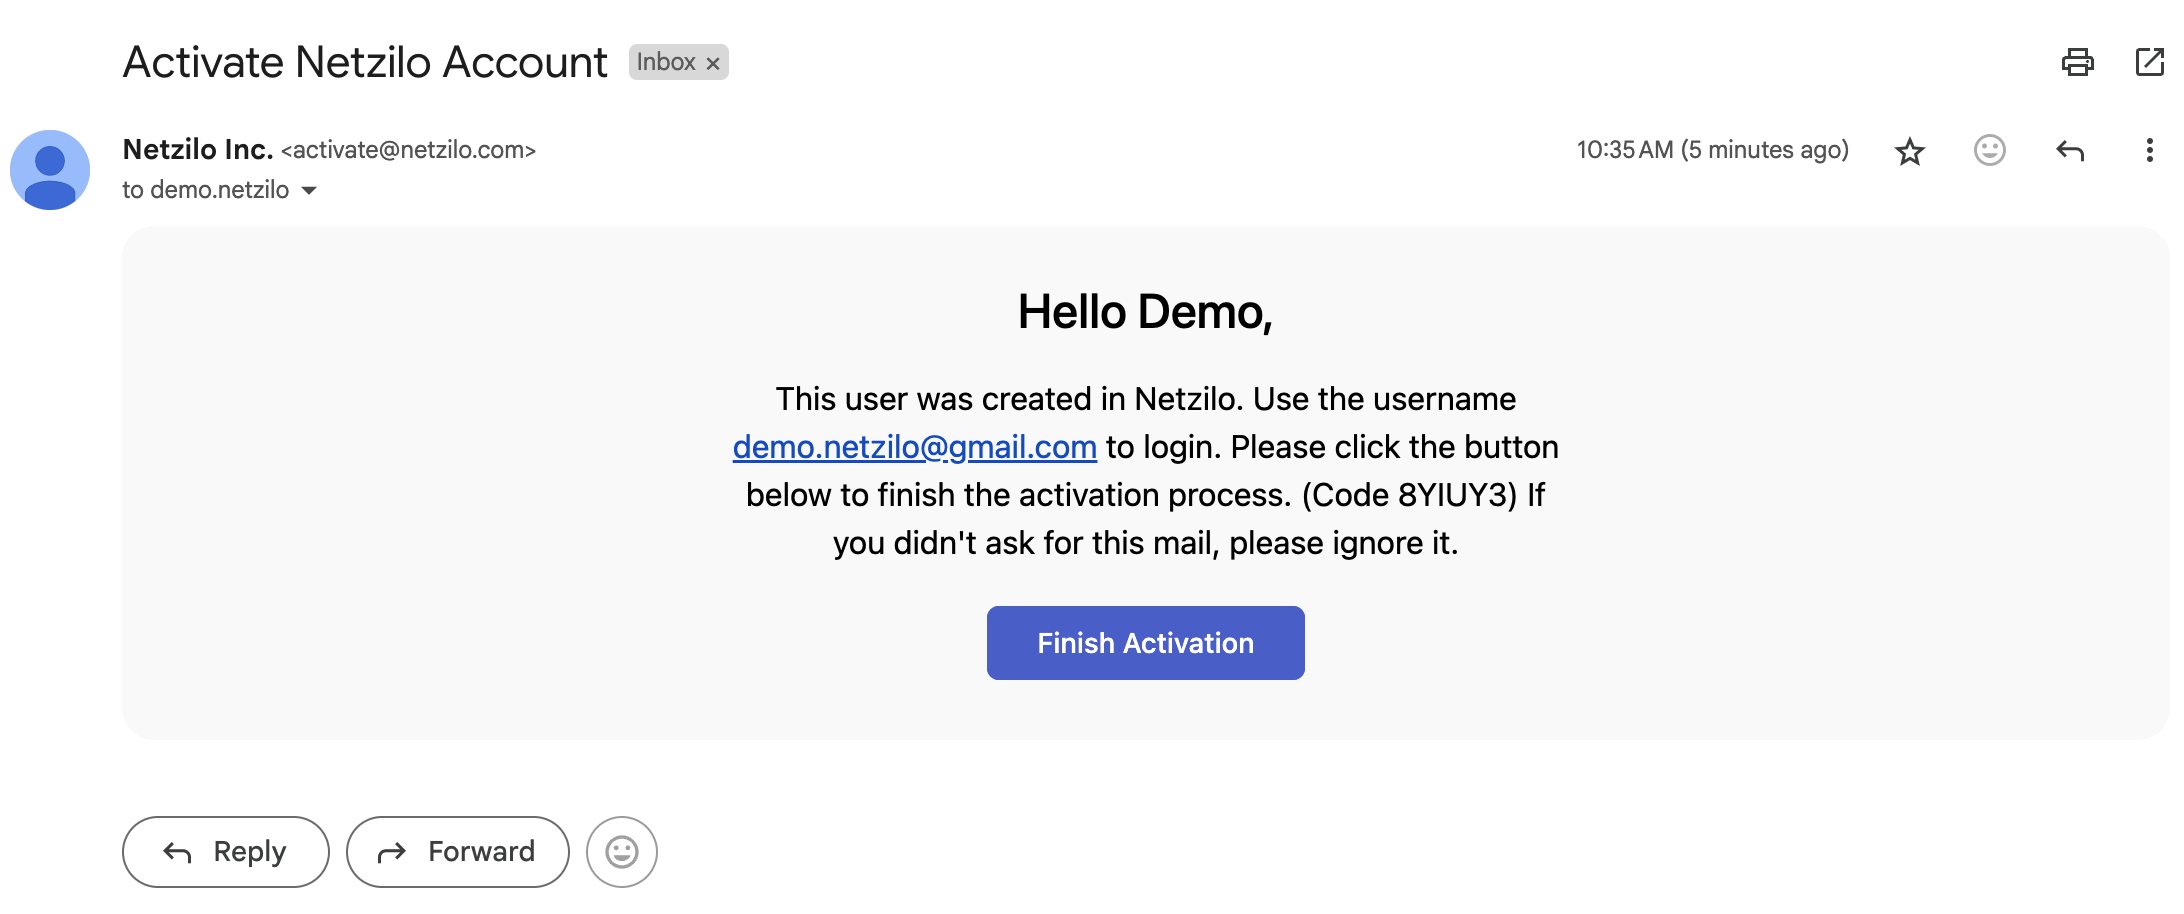
You will receive an email from [email protected] containing instructions to activate your account. Click the Finish Activation button as shown below to proceed.
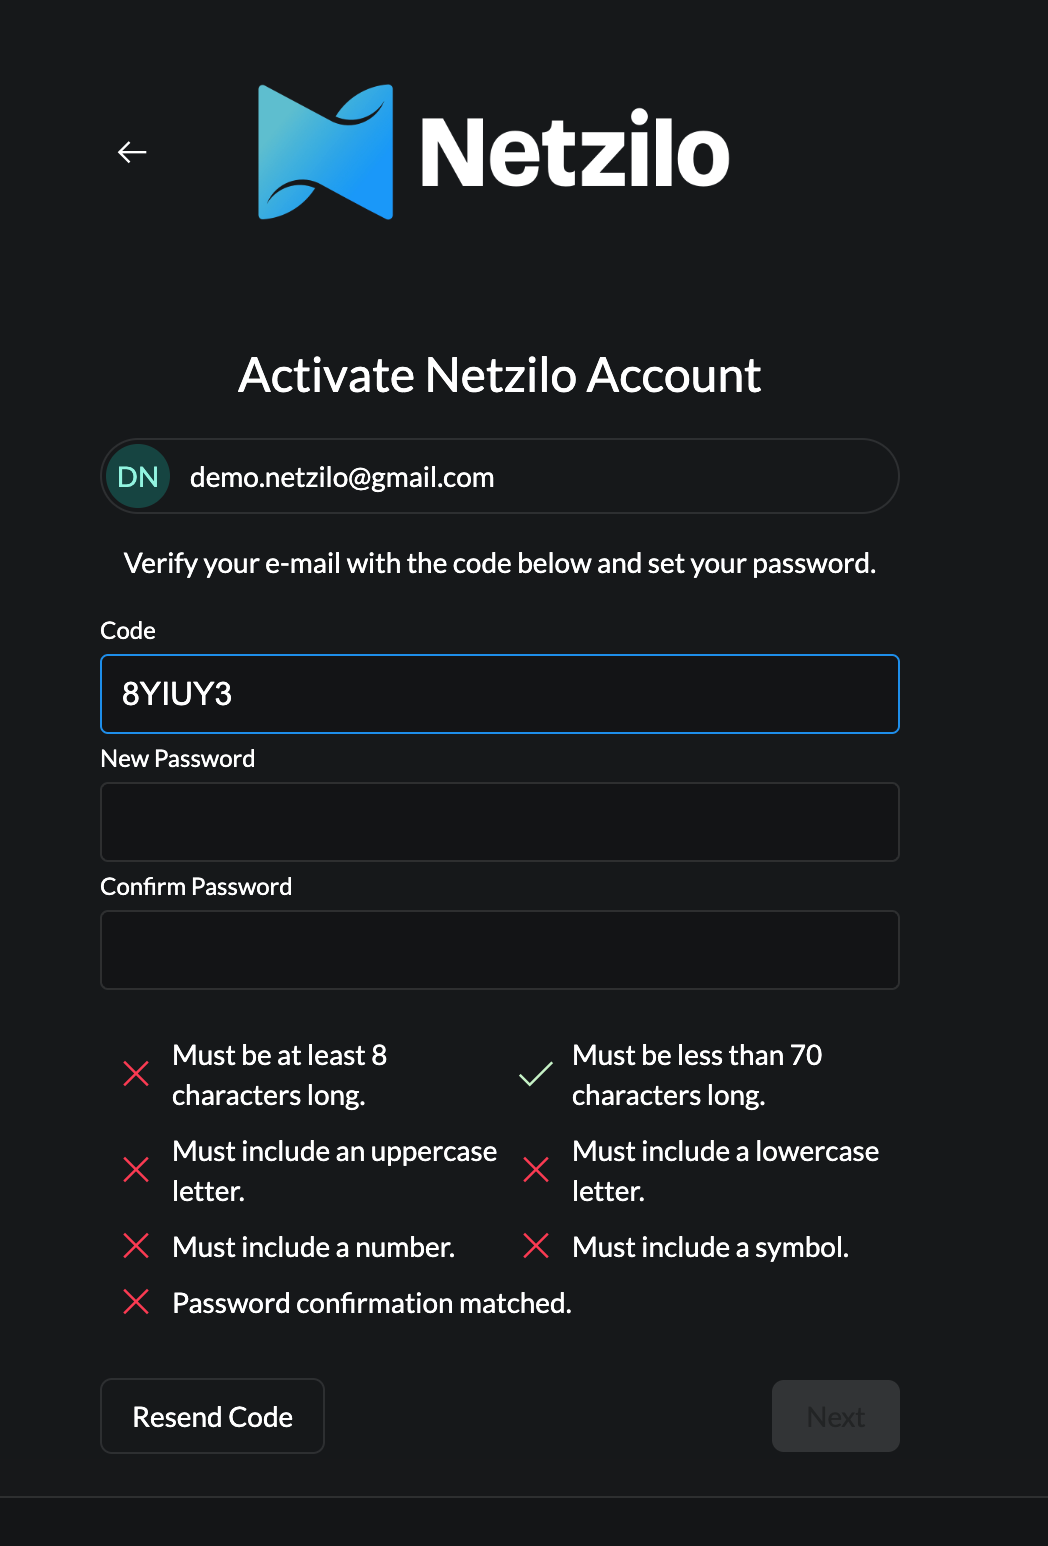
The activation code field will be pre-filled automatically. Simply enter and confirm the password you wish to use for Netzilo login. Ensure your password meets the required format, as depicted below; otherwise, you won't be able to proceed to the next step.
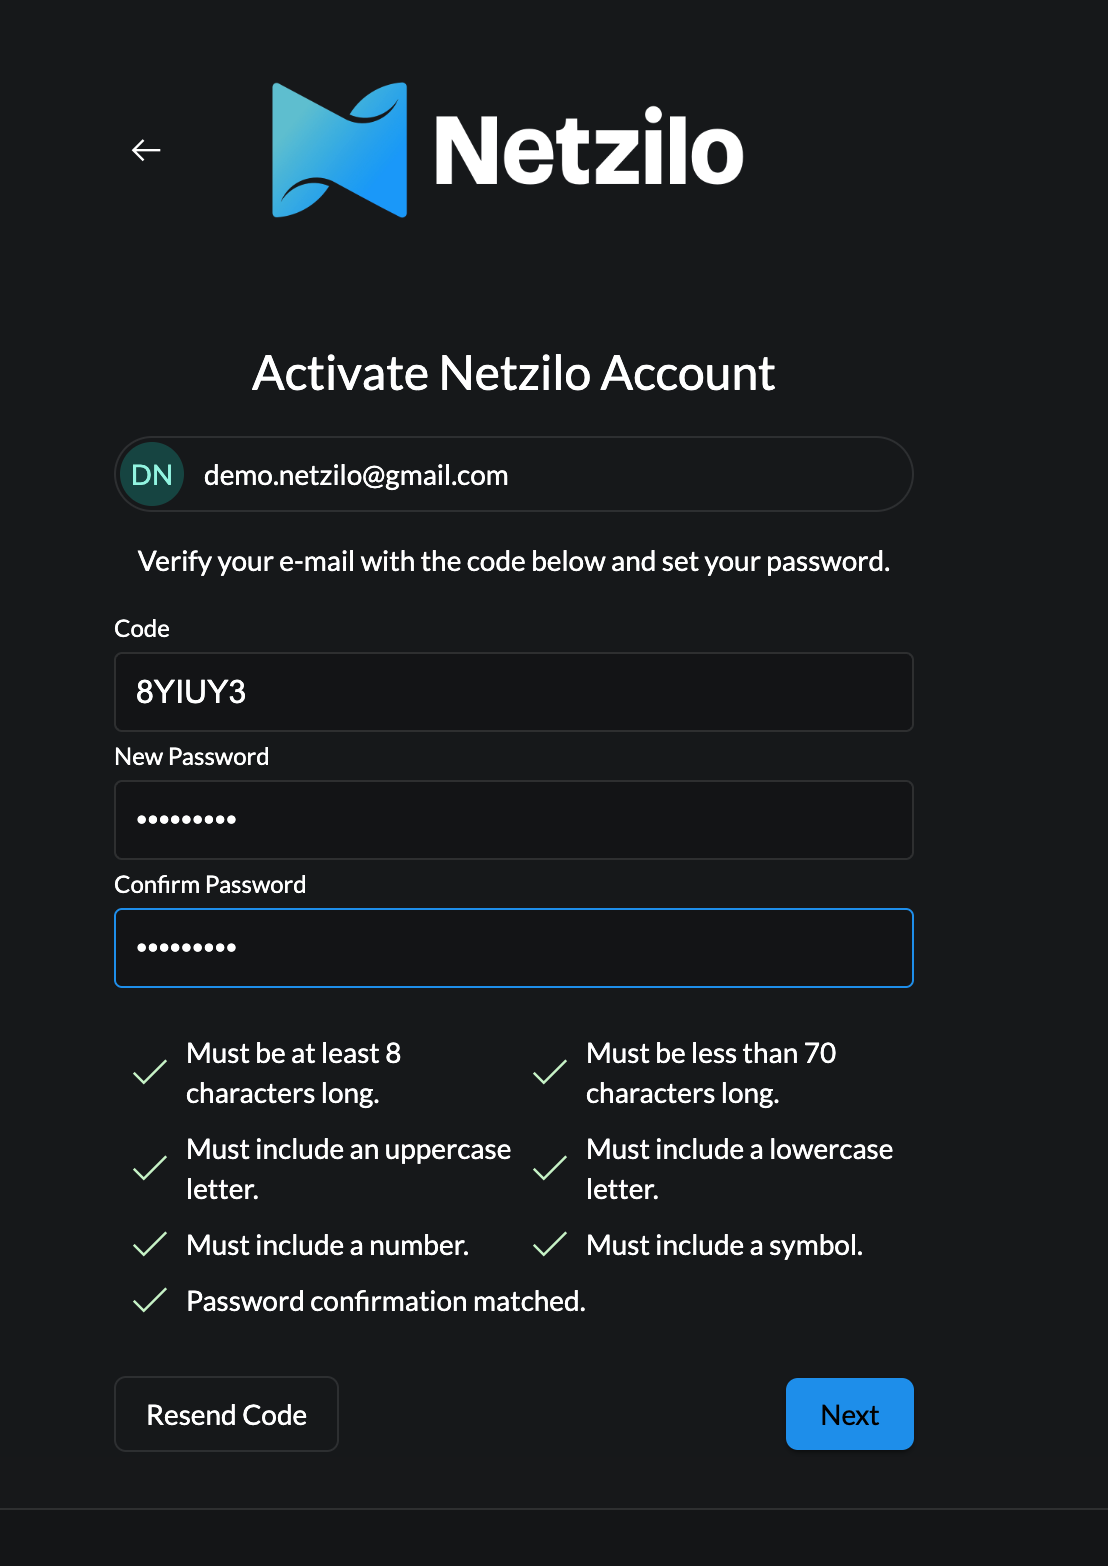
After entering your password, the Next button will become active. Click it to continue.
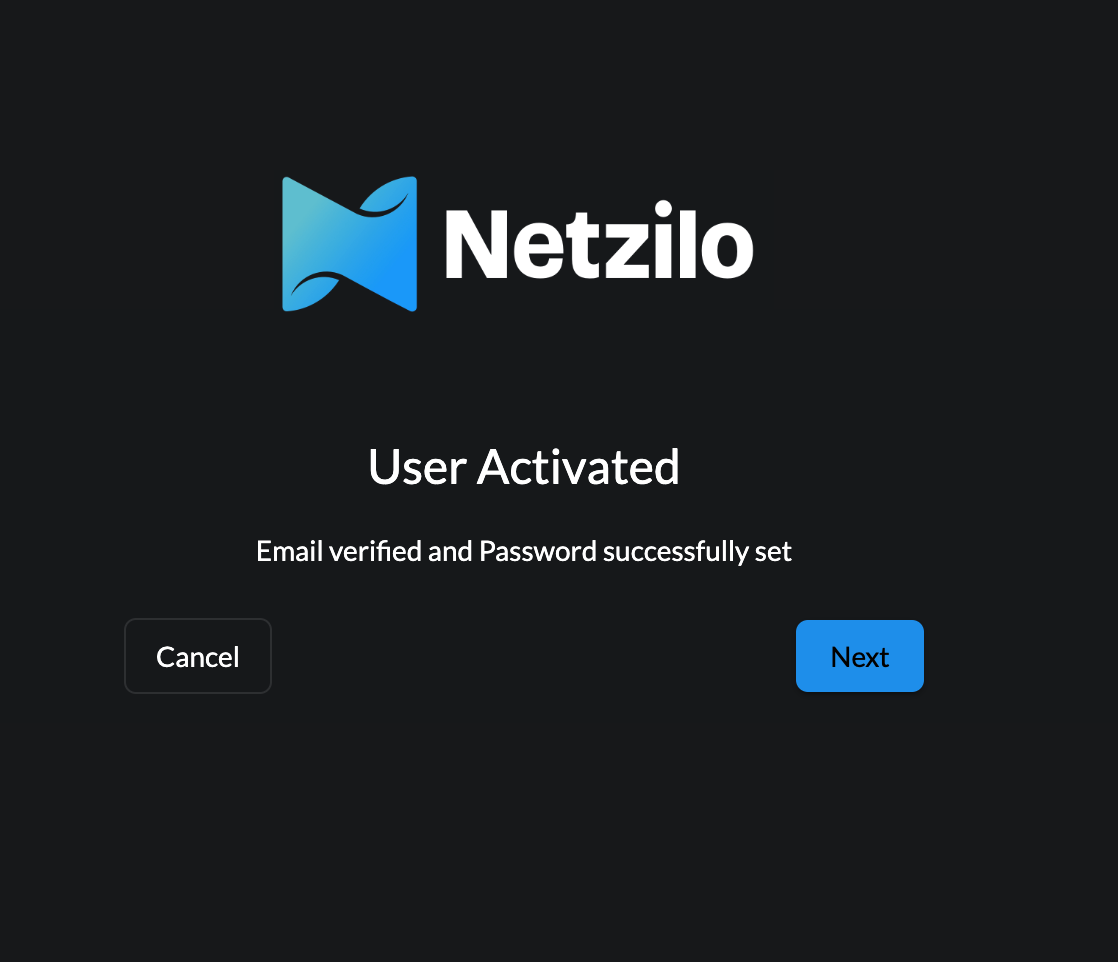
As shown in the following screen, your user account has been activated. Click the Next button to proceed to the login screen and sign in.
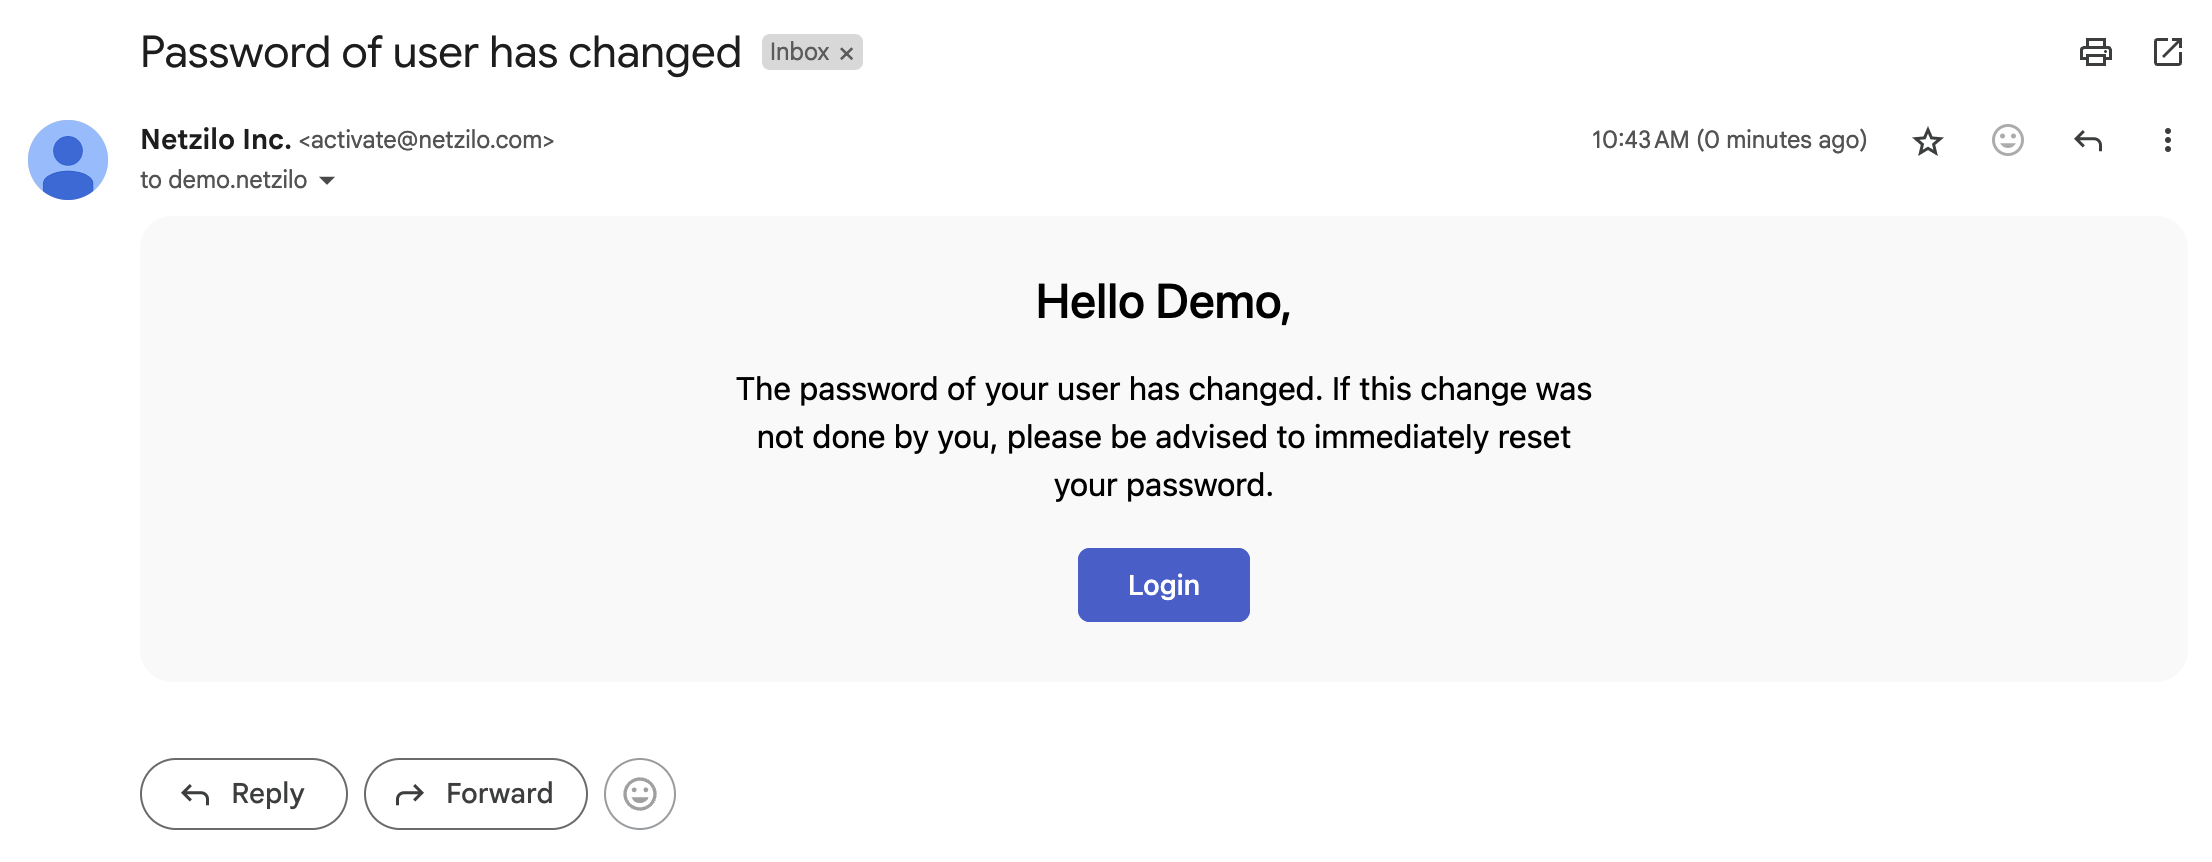
Upon activation, you'll also receive an automatic confirmation email. From there, you can click the Login button to access the login page, as previously described.
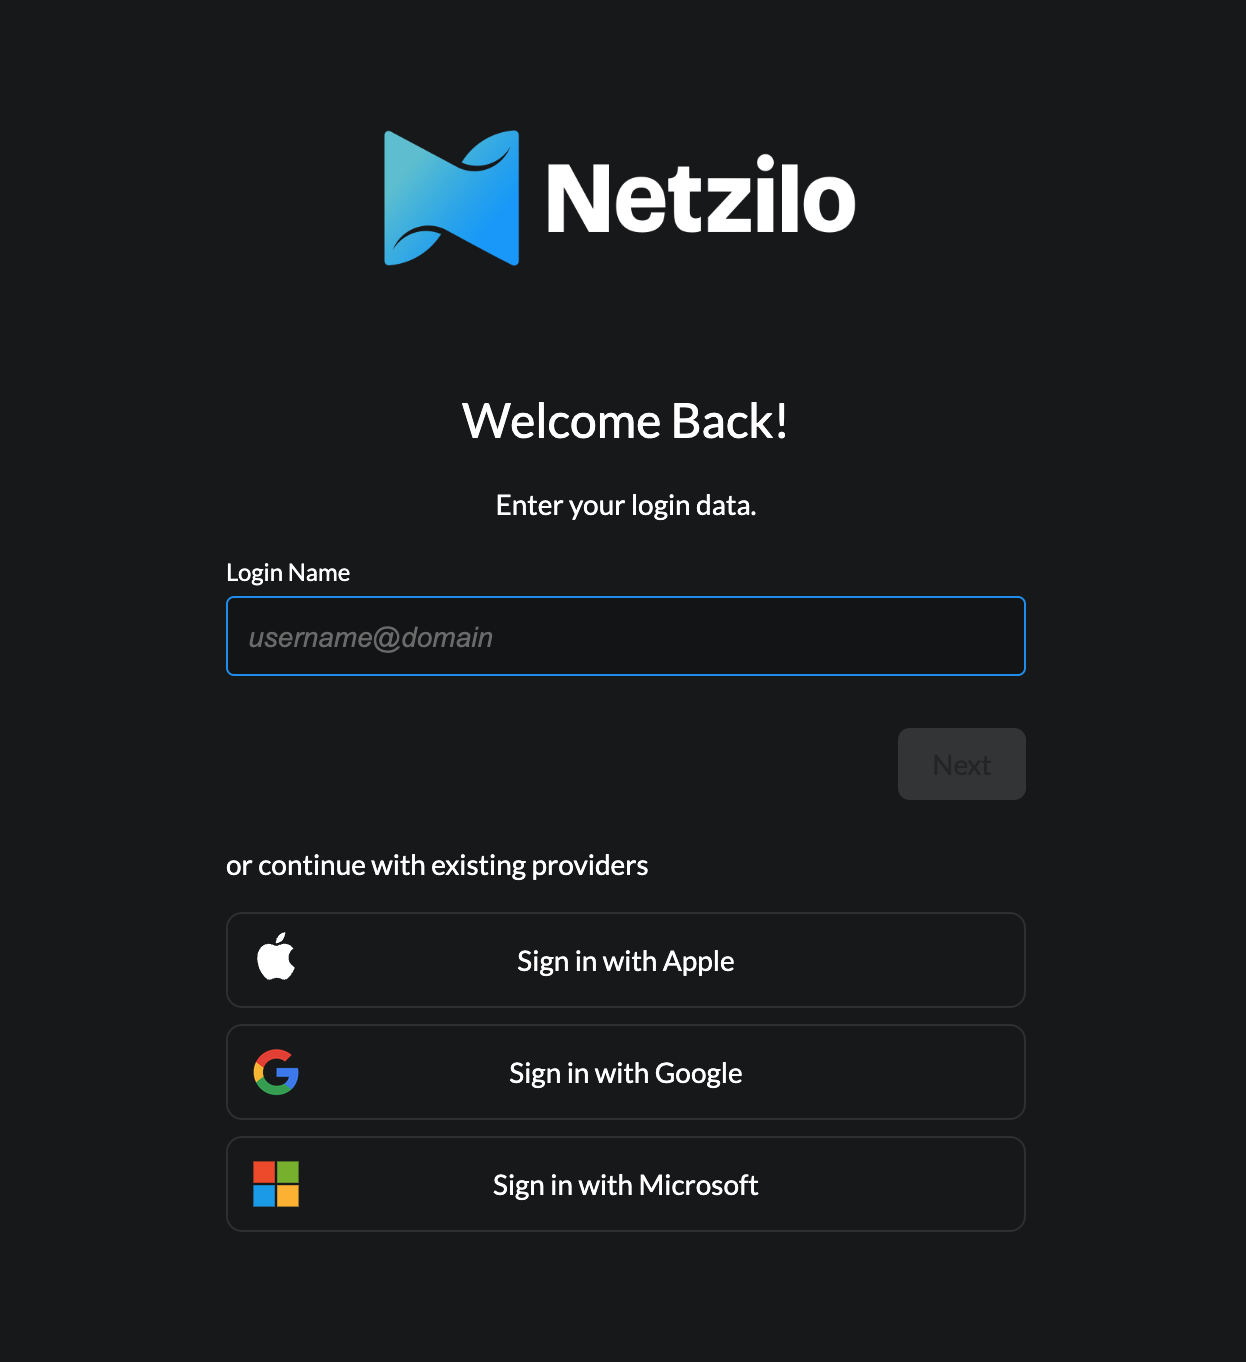
The screen below is the user login page, where you'll need to enter your email address.
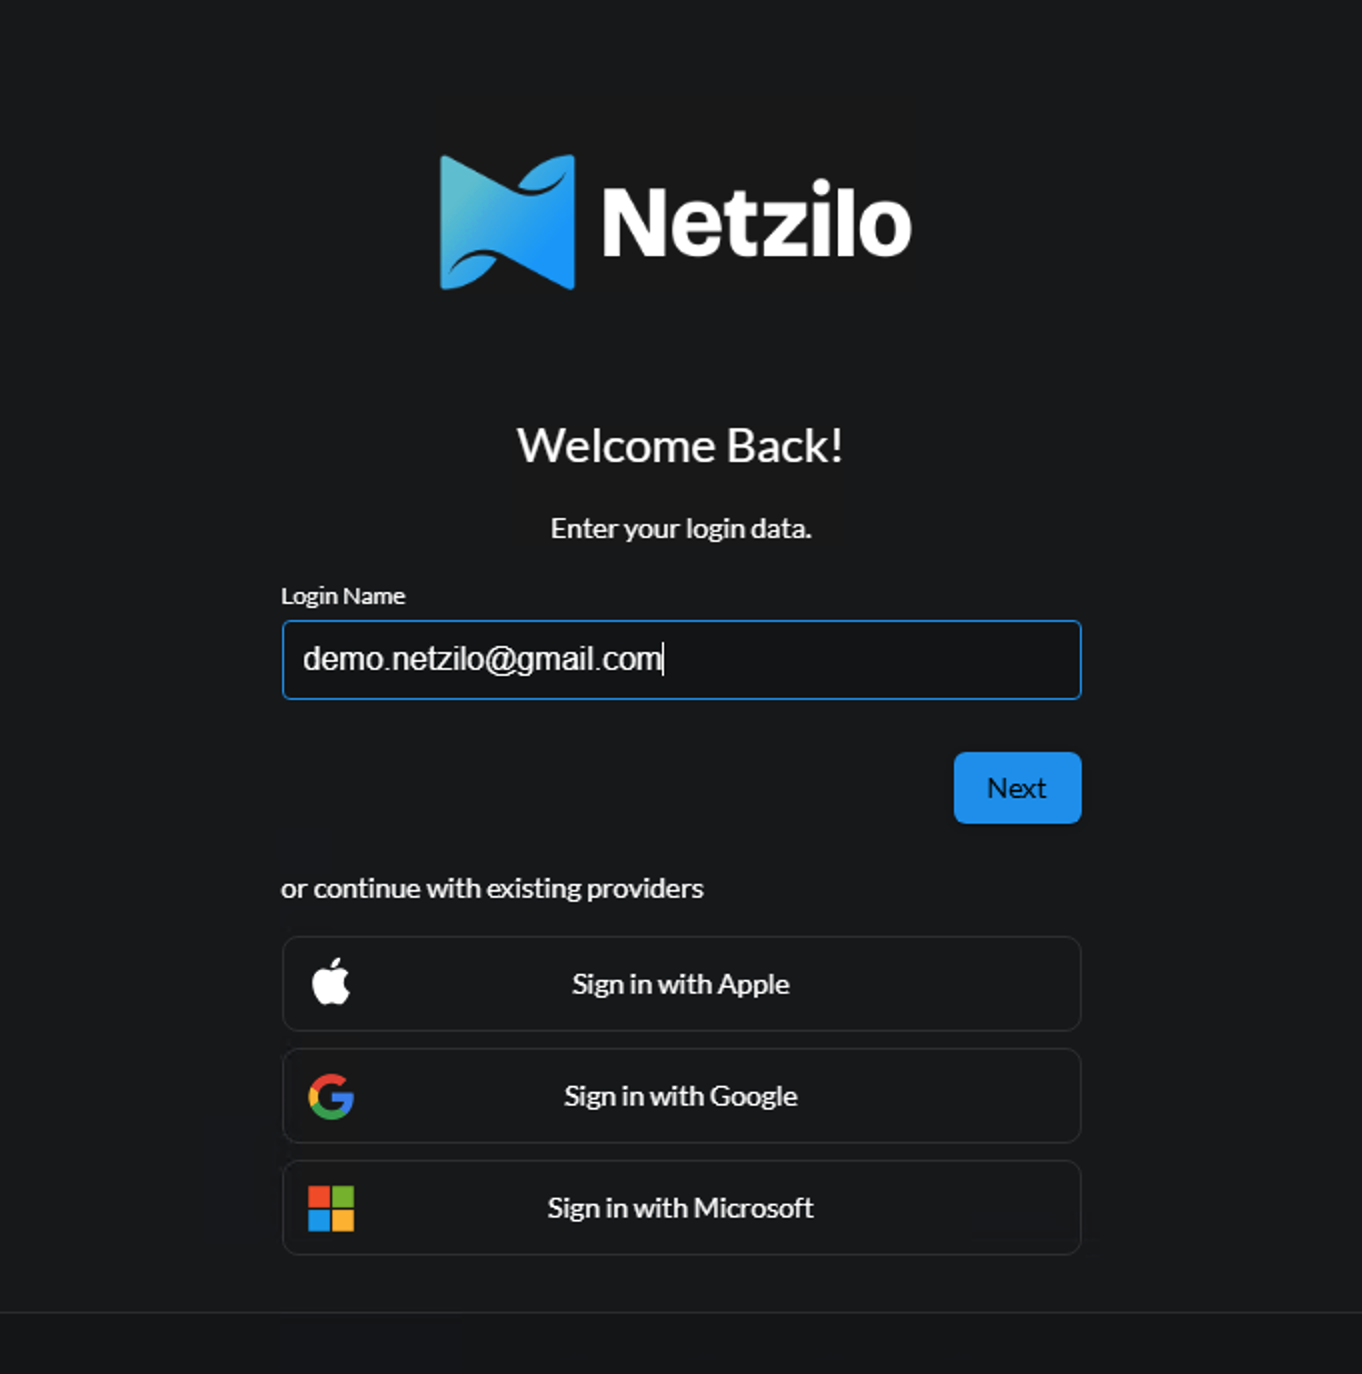
After entering your email address, the Next button will become visible. Click it to proceed to the password screen.
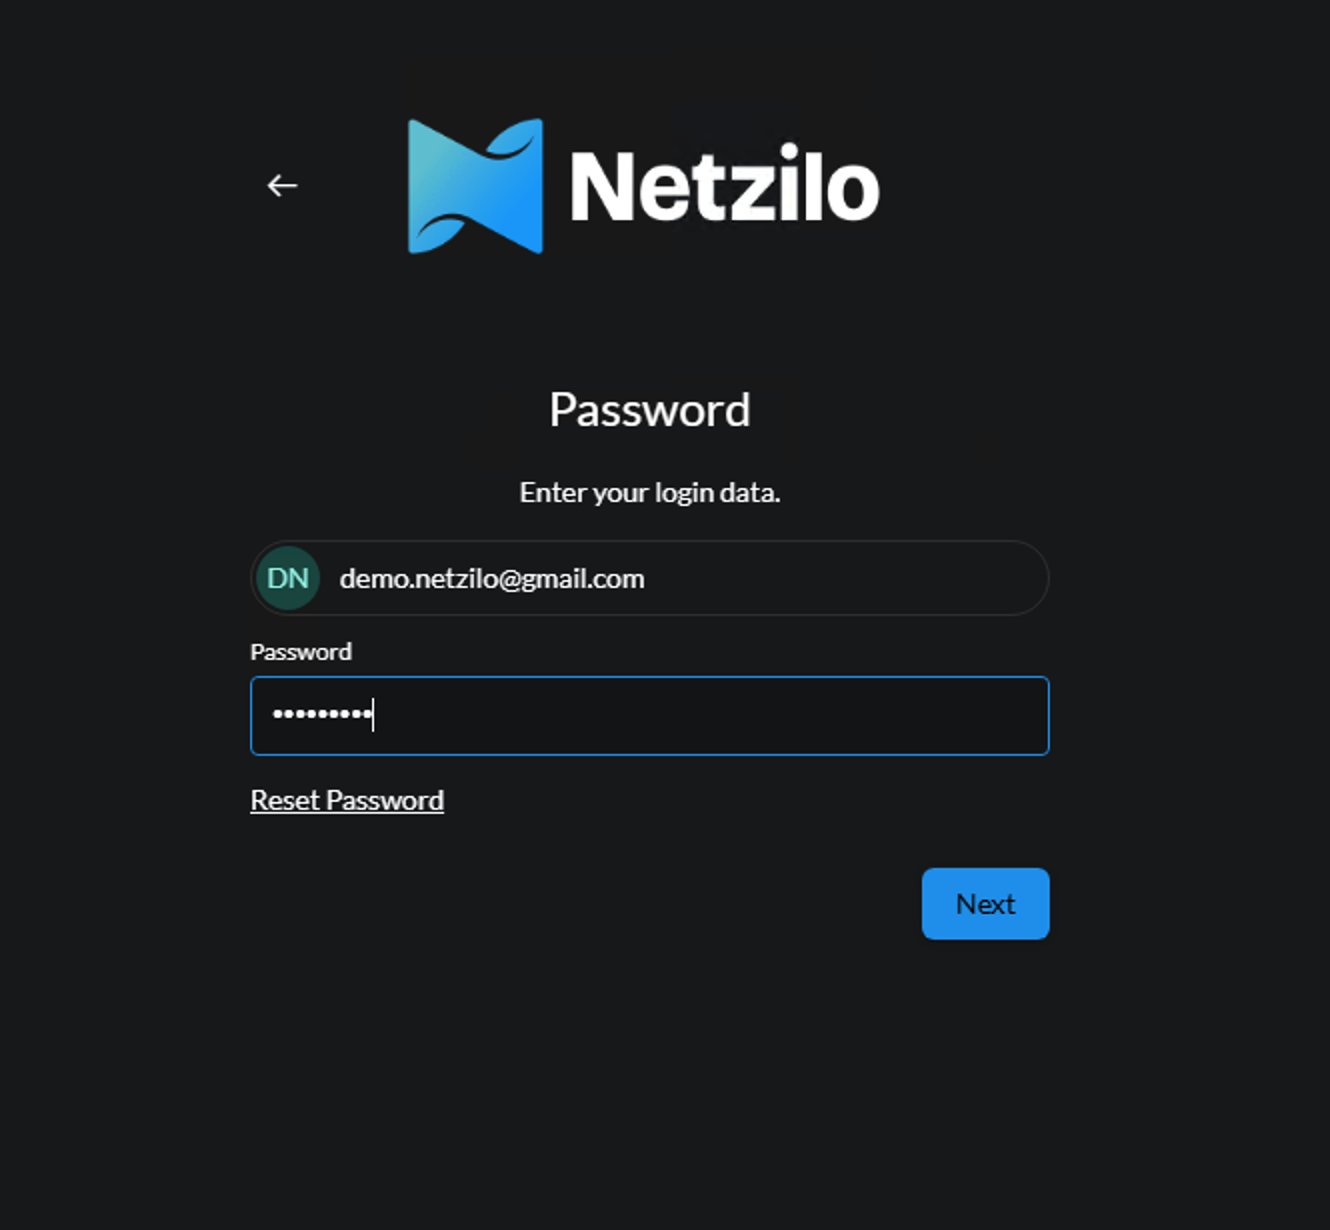
Here, enter the password you previously set. After entering your password, click the Next button.
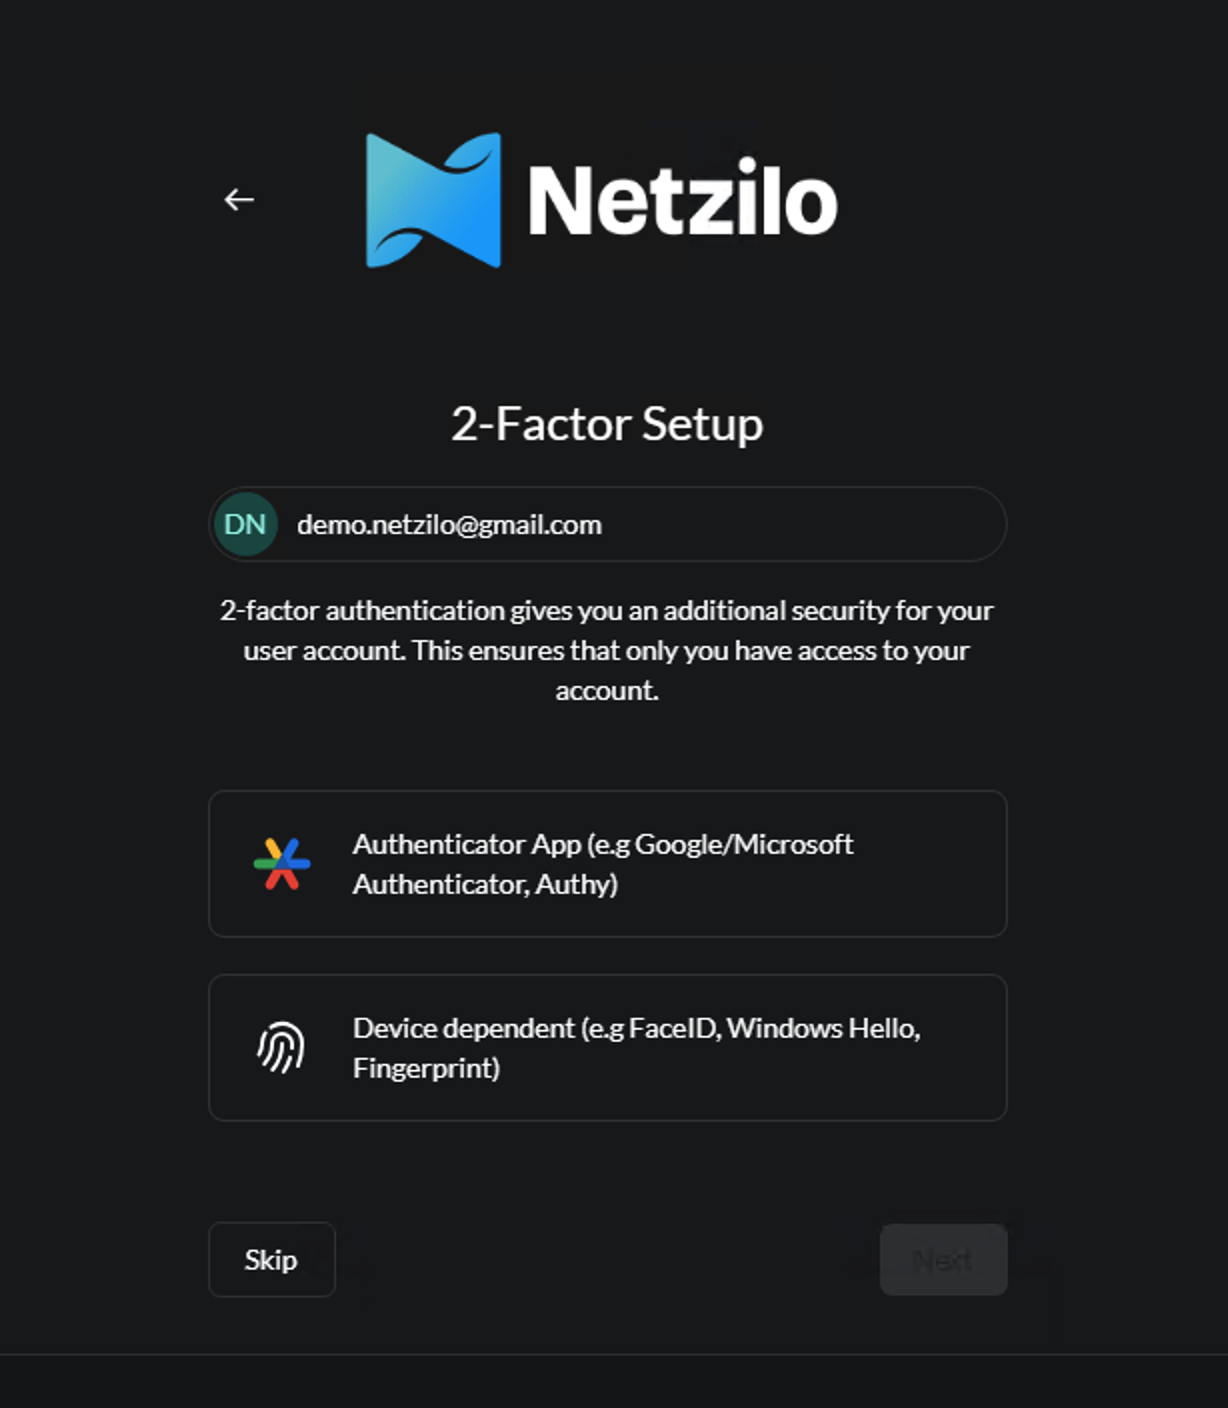
For additional security, there are steps to set up two-factor authentication (2FA). These steps are optional; for now, you can click Skip to proceed to the next step.
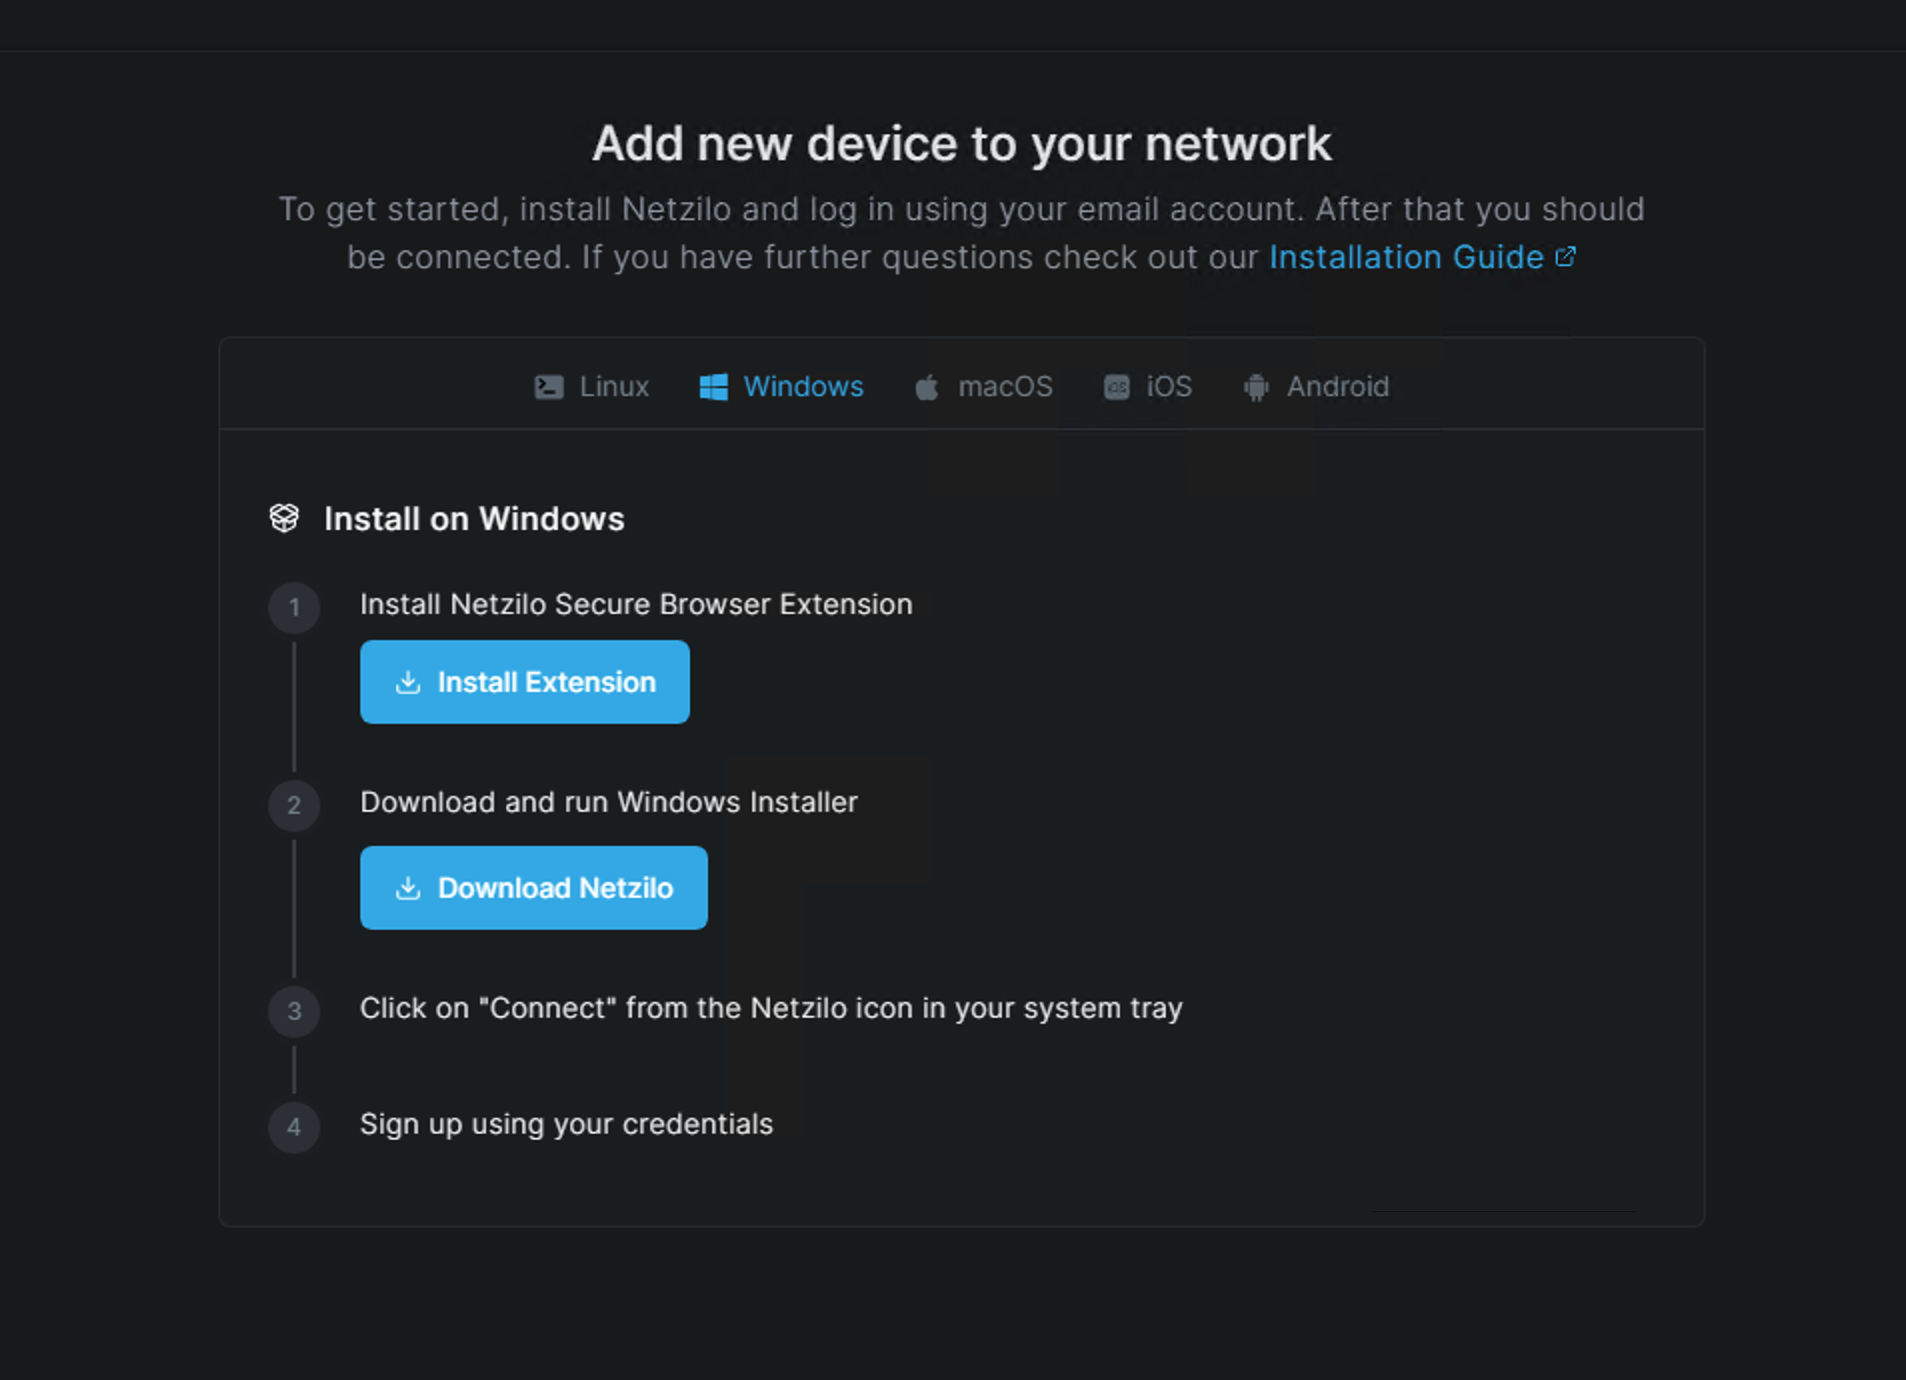
Your login process is complete. The next step, as shown in the image below, is to add your first device. We'll demonstrate the process for a Windows device. For information on other platforms, click the provided link. First, click the Install Extension button, as shown in step 1 below.
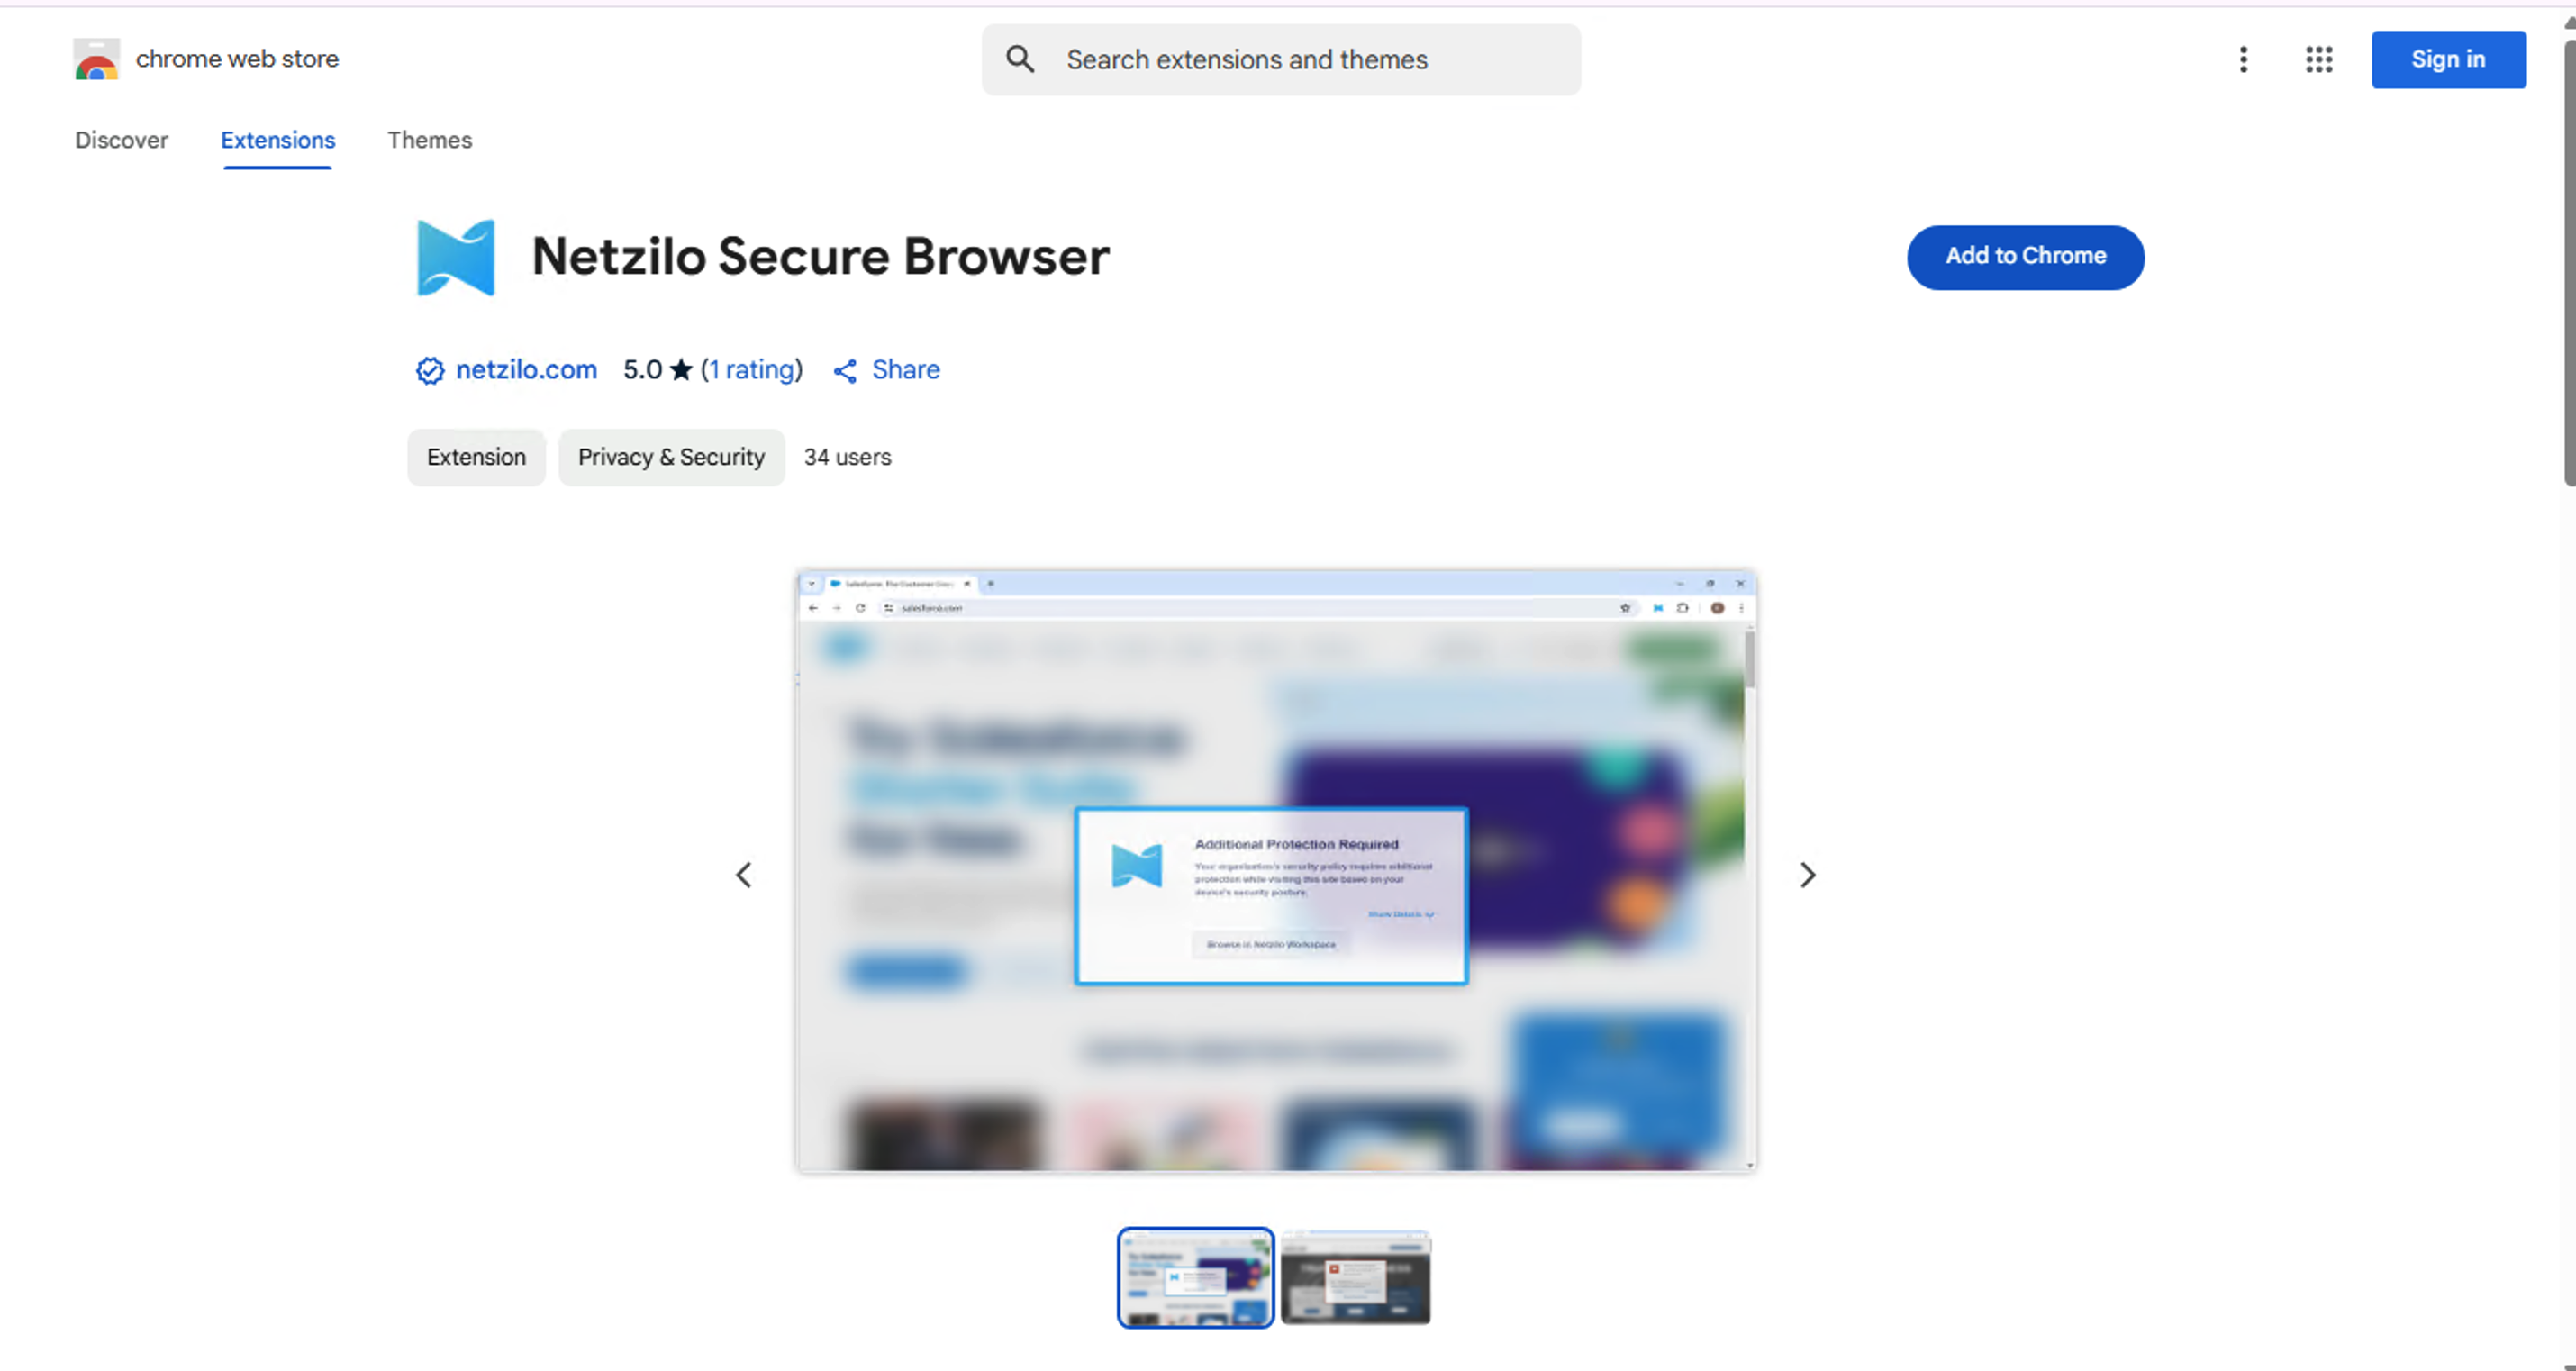
You'll be directed to the appropriate extension store for your browser. Click the Add to Chrome option.
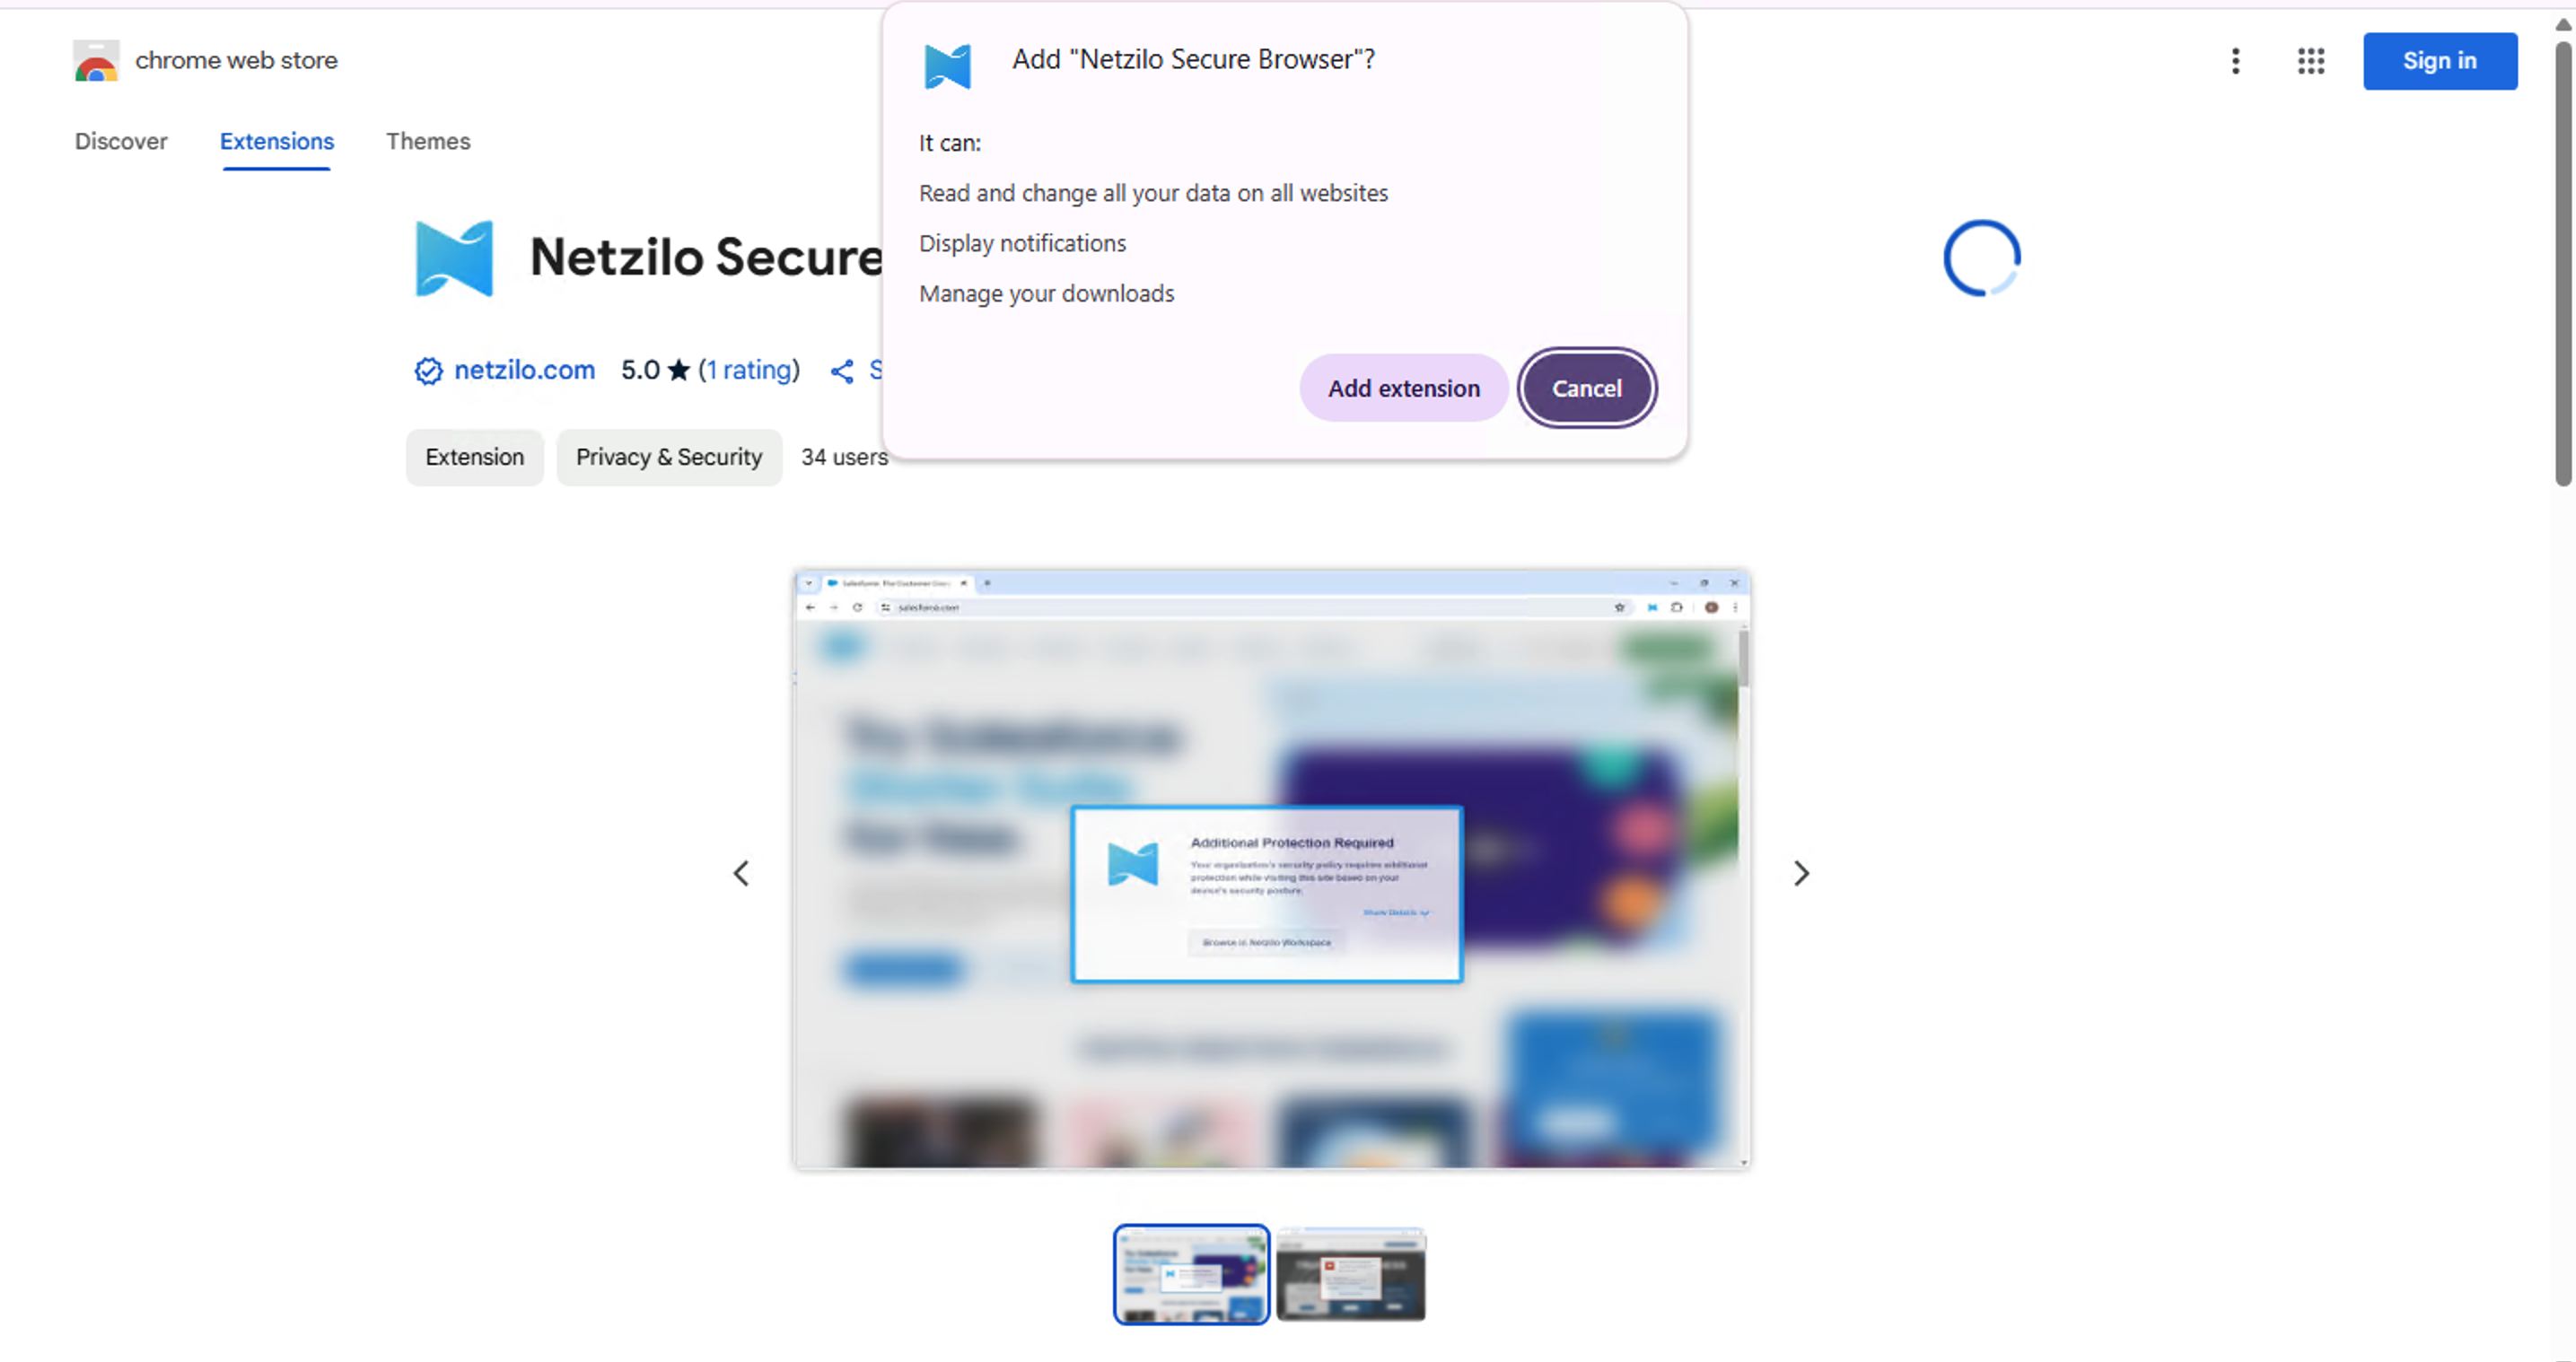
Next, a pop-up will appear; click the Add extension button.
As shown below, the extension will appear in the toolbar and will be installed successfully.
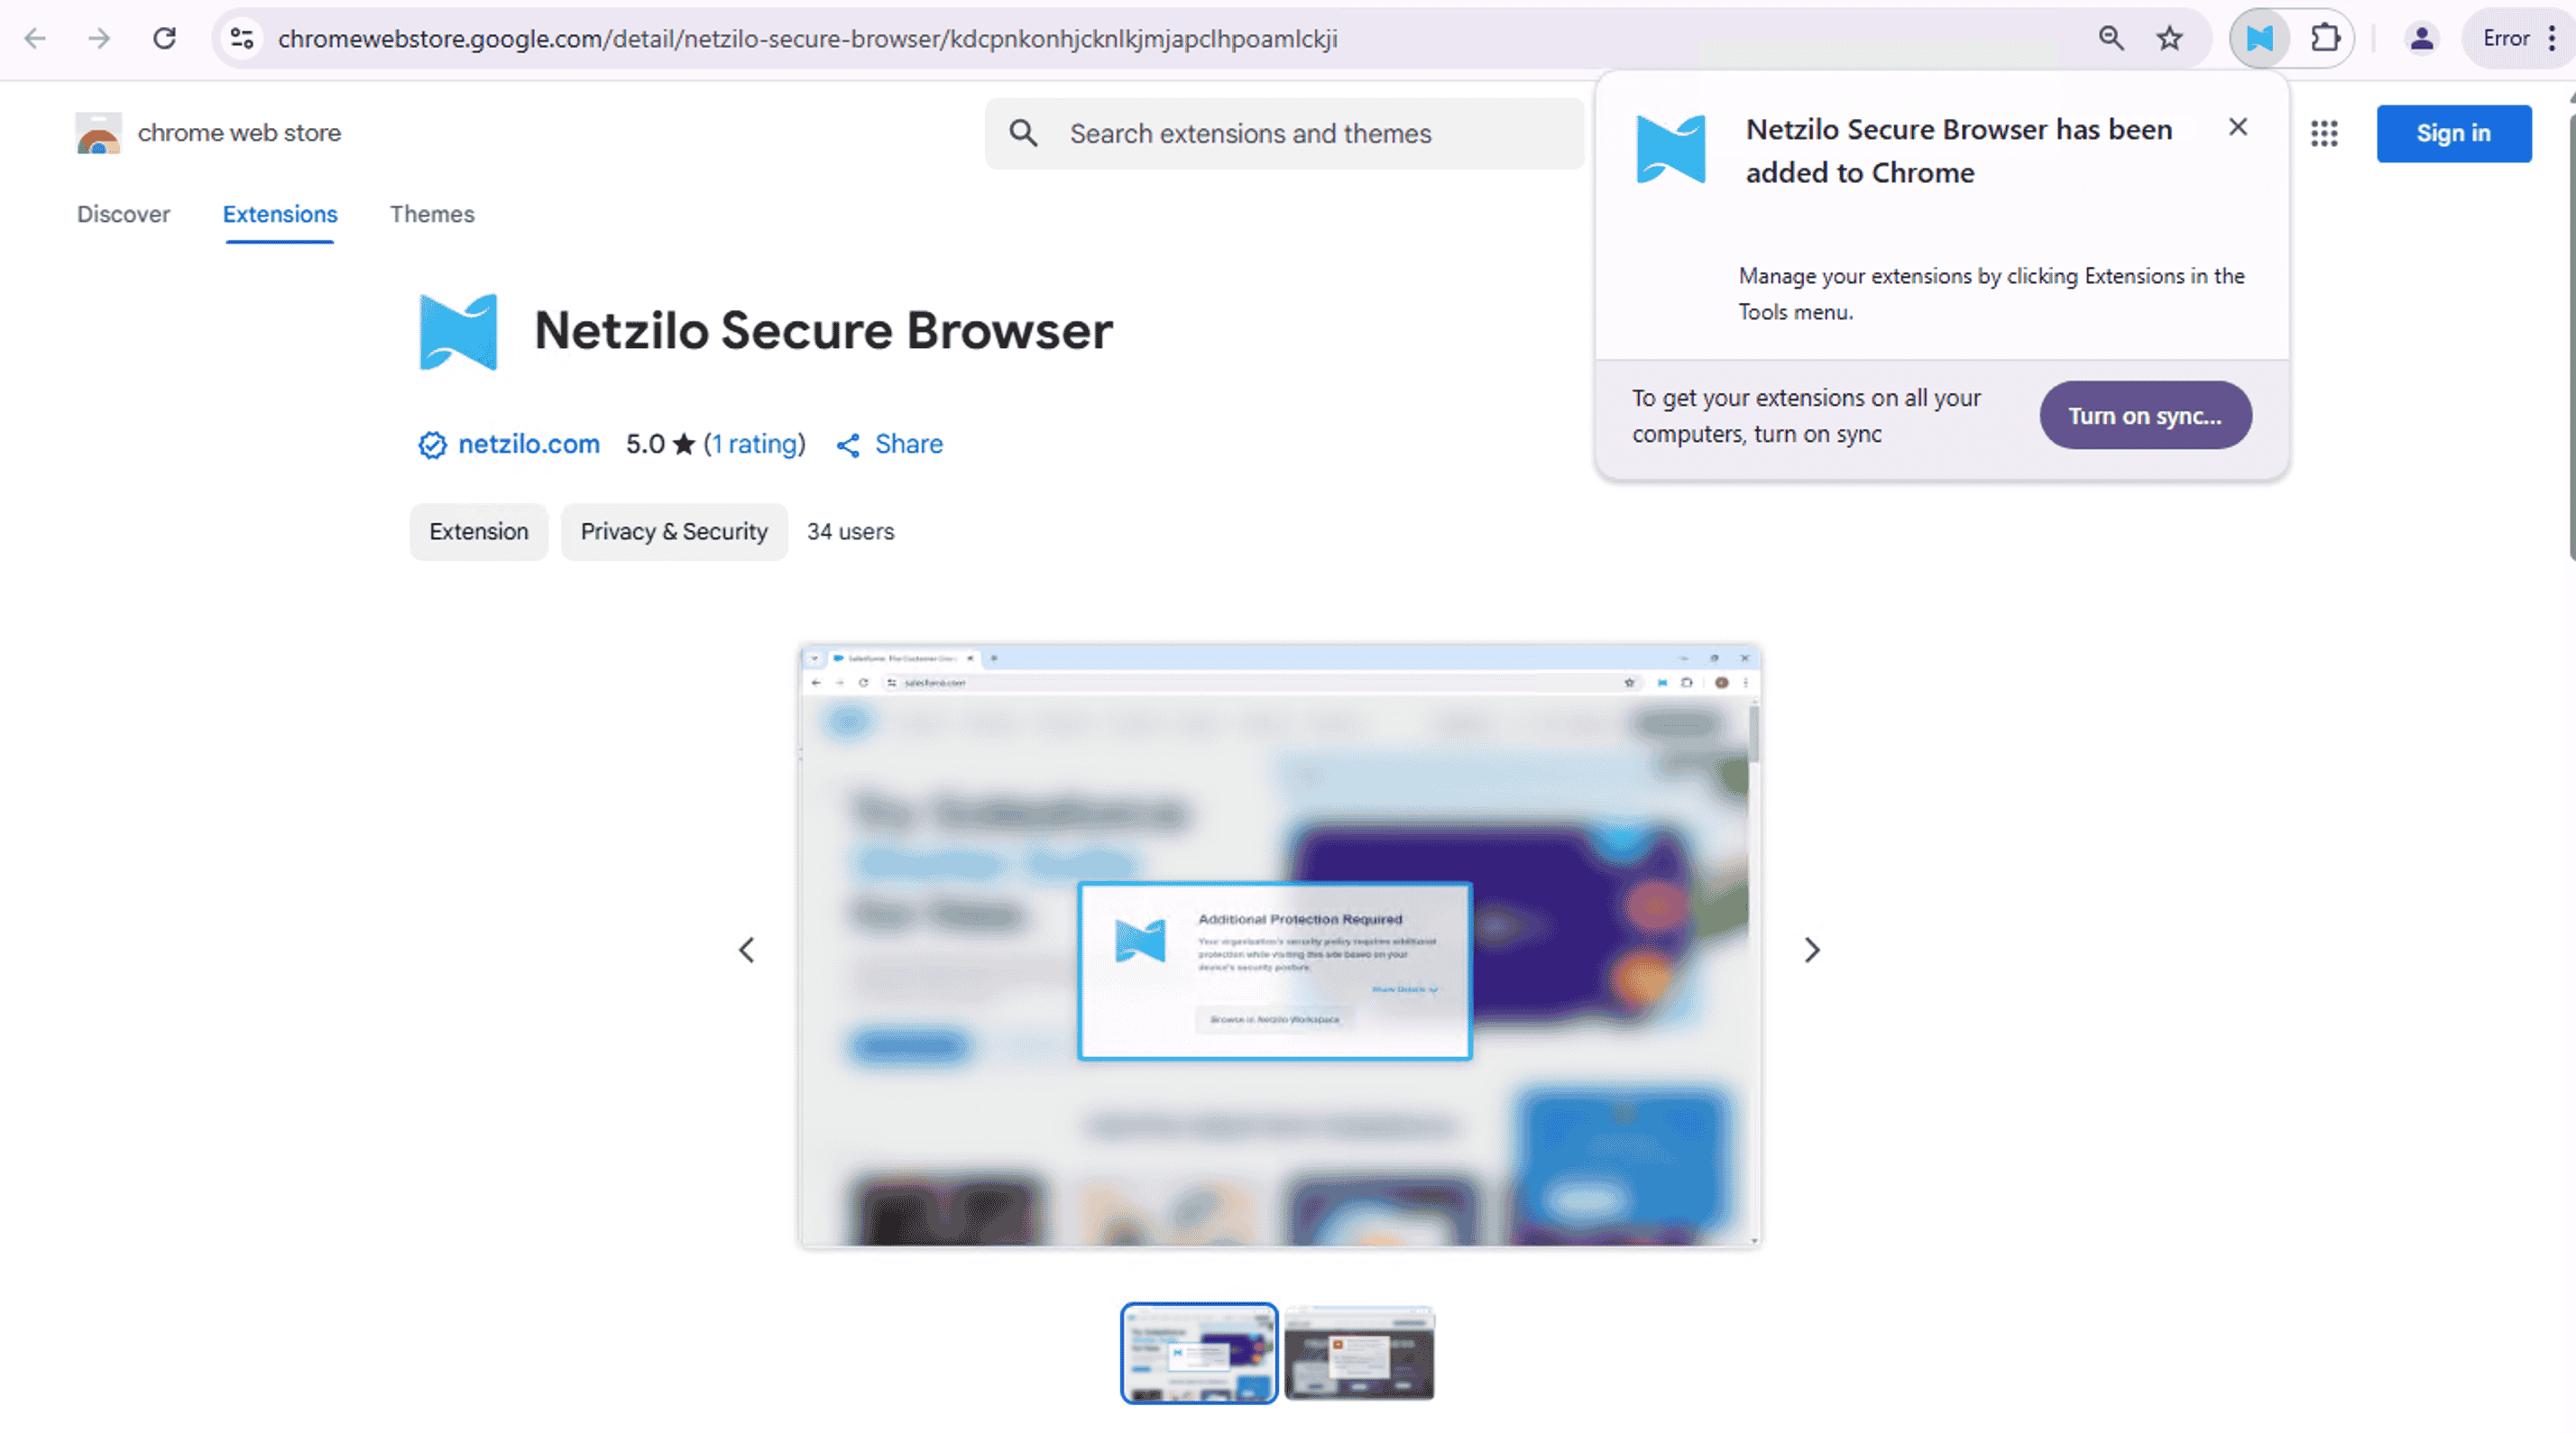
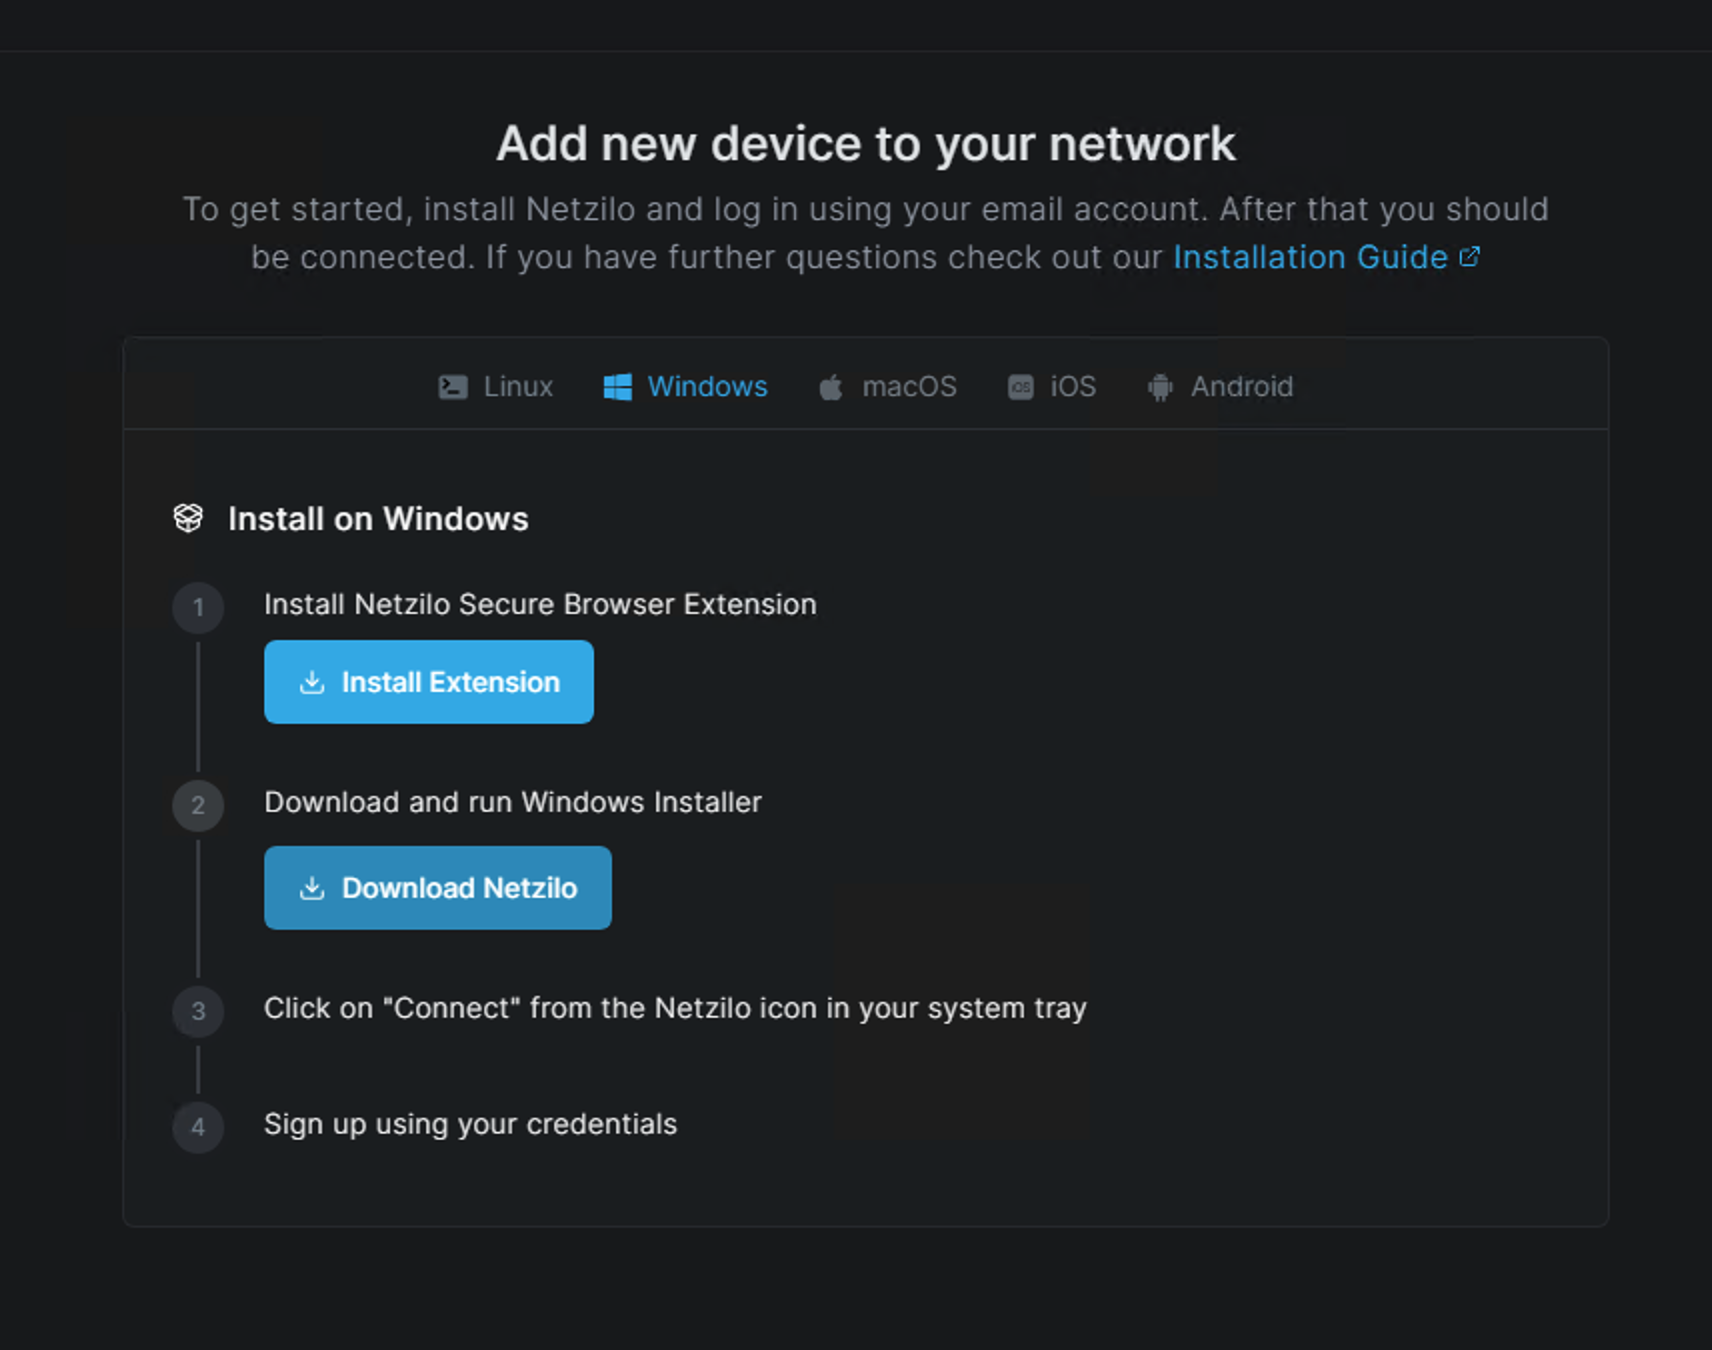
Now, return to the device addition page and click the Download Netzilo button in step 2.
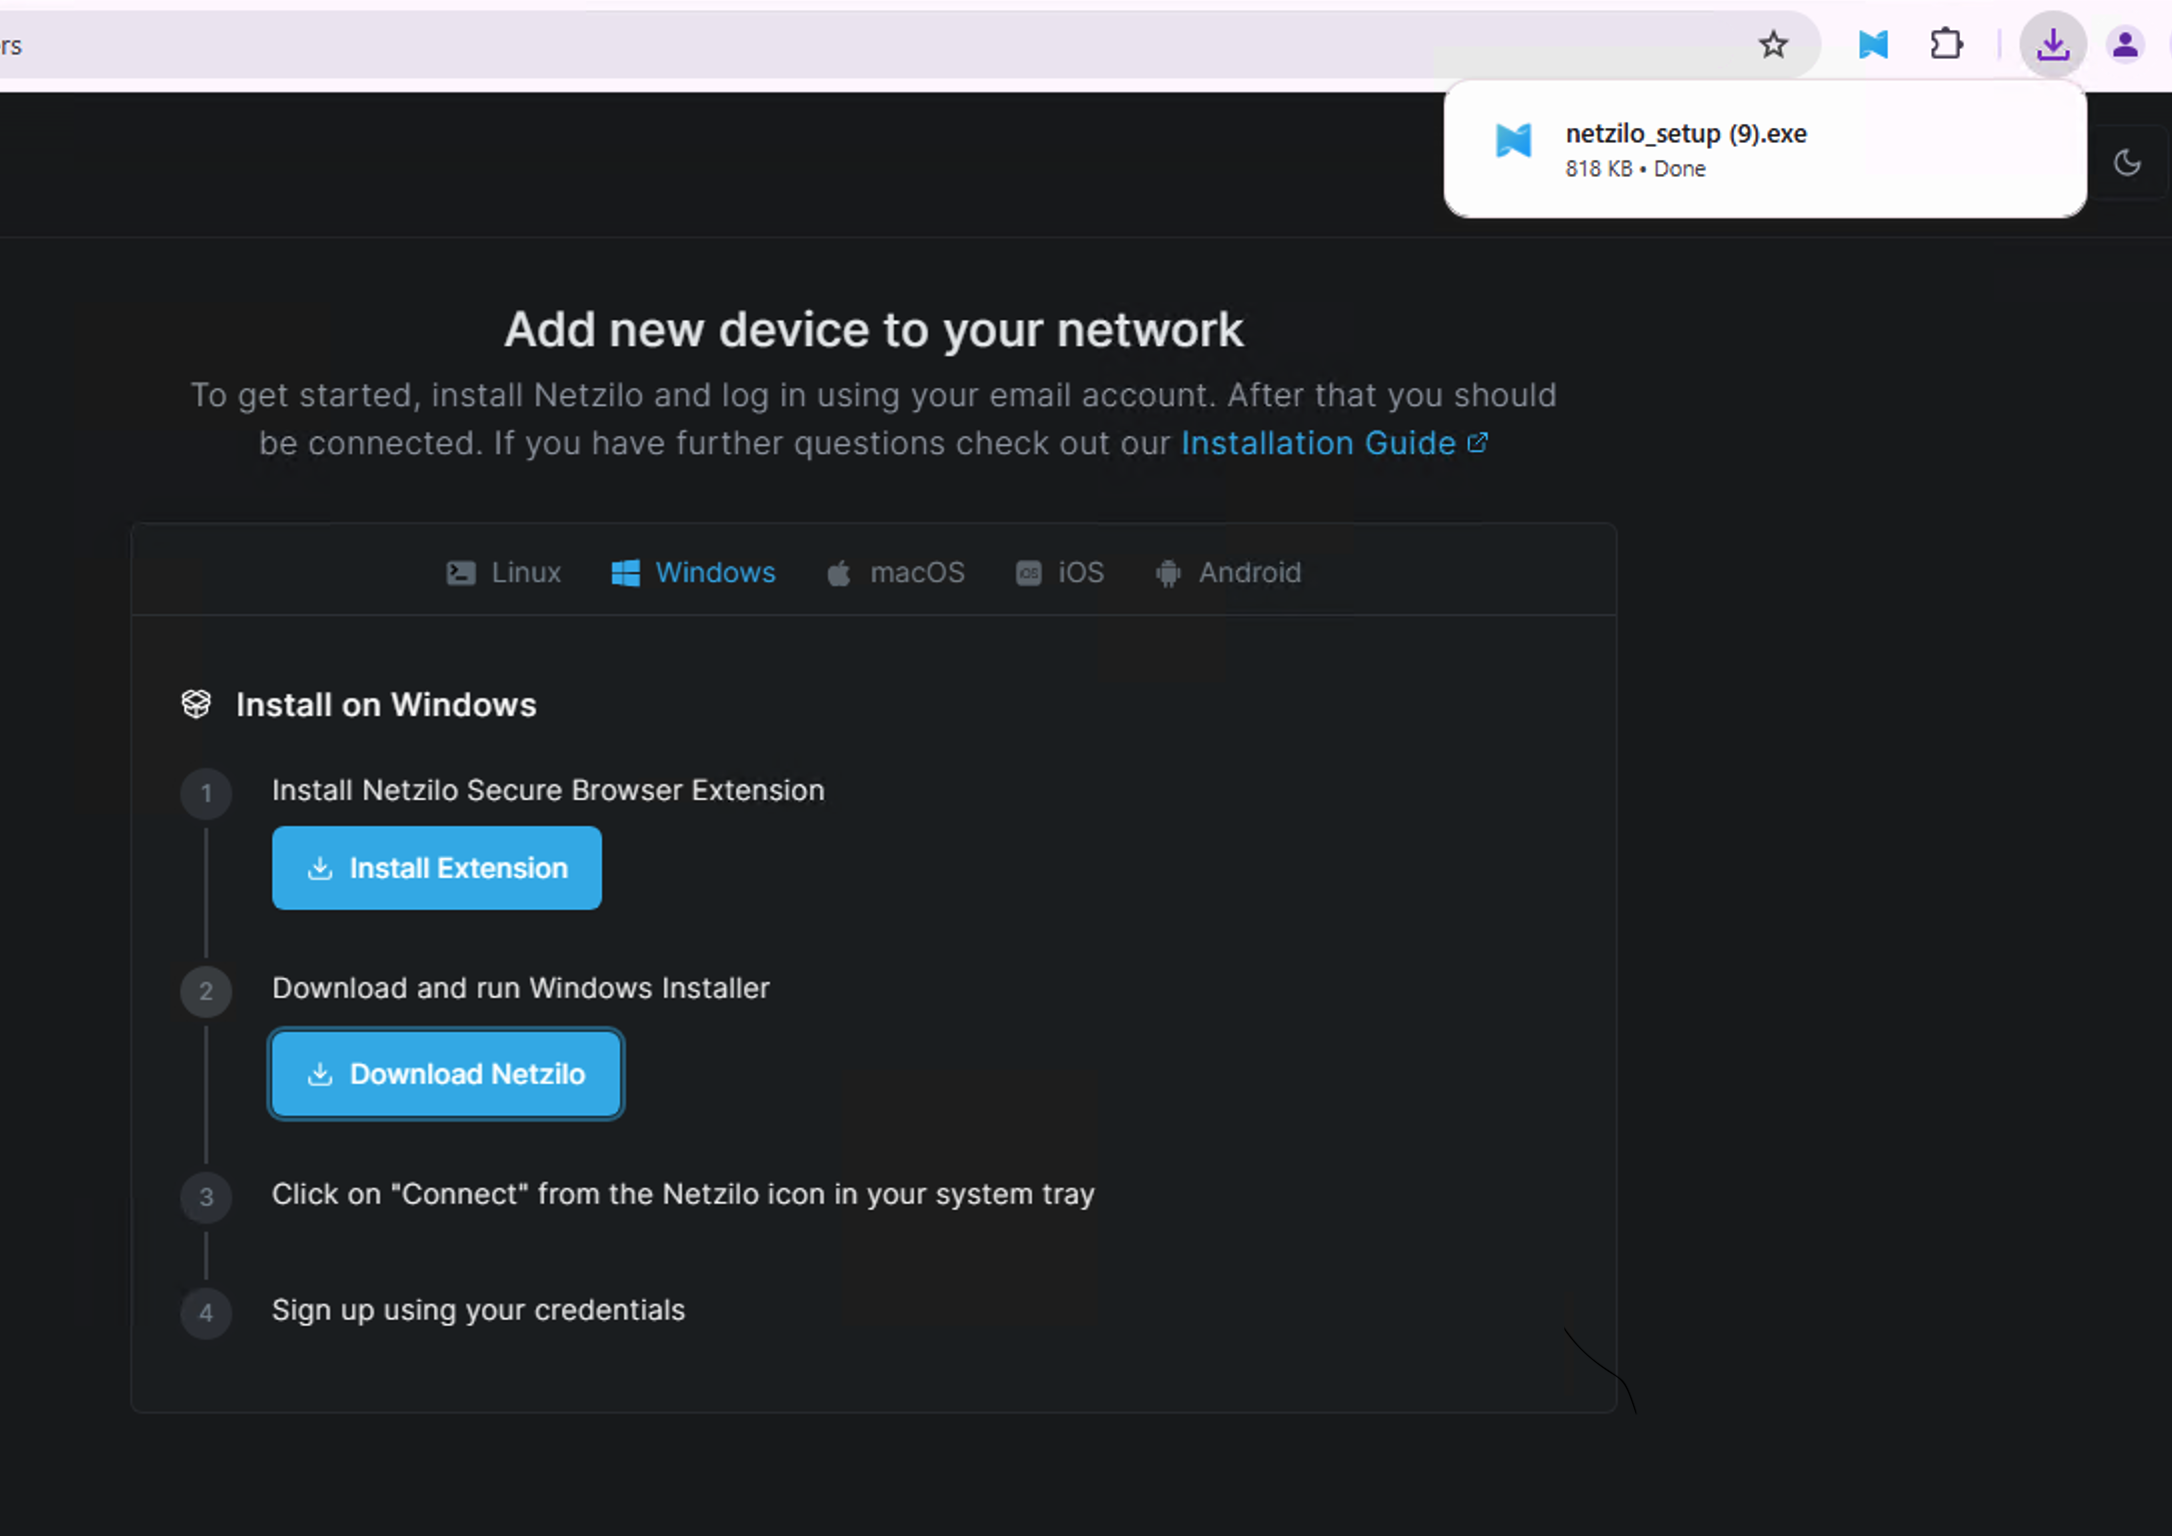
The application is small in size and will download quickly. Once downloaded, it will appear in your browser's downloads section, as indicated below. Click the downloaded file to run the installation wizard. Alternatively, you can navigate to your downloads folder and double-click the file to start the installation wizard.
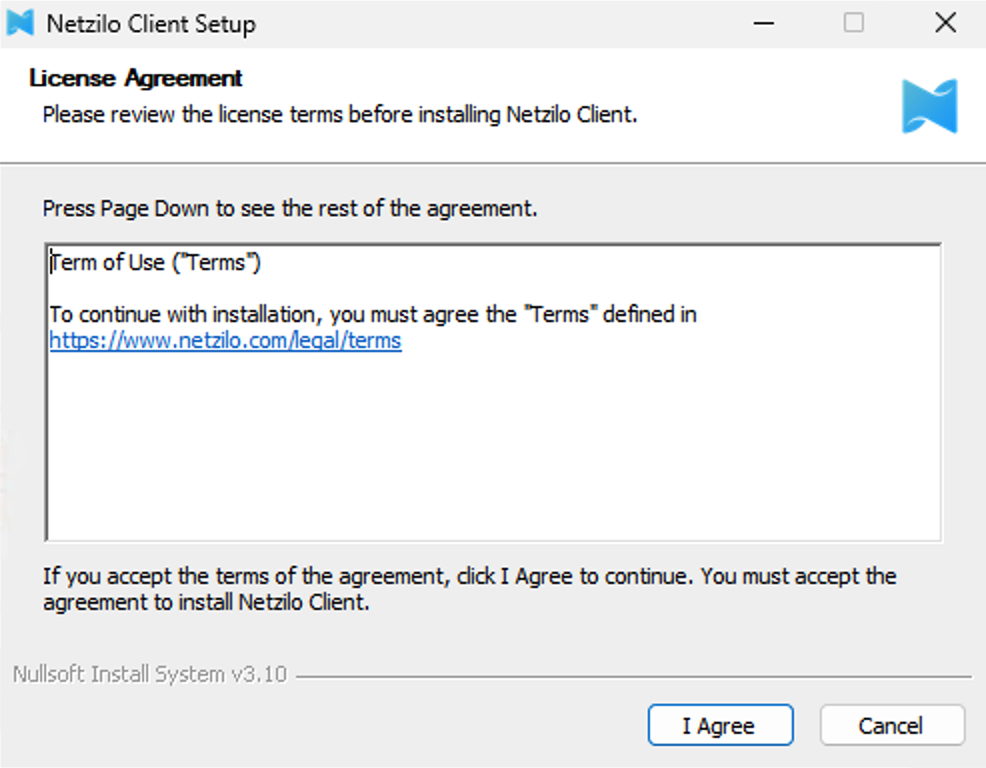
When the installation wizard starts, click the I agree button, as shown below, to begin the installation.
You can monitor the installation progress through the bar shown below; the installation will be completed within a few seconds.
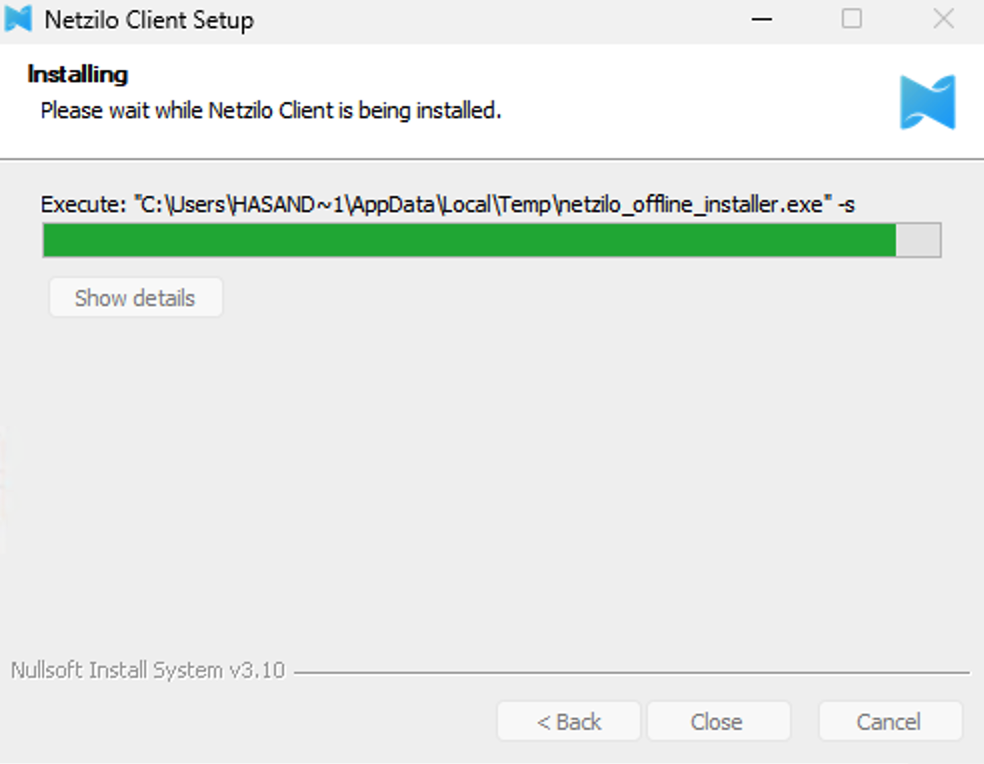
Once the installation is complete, you'll see the Completed message, and the Close button will become active. Click Close to exit the installation wizard.
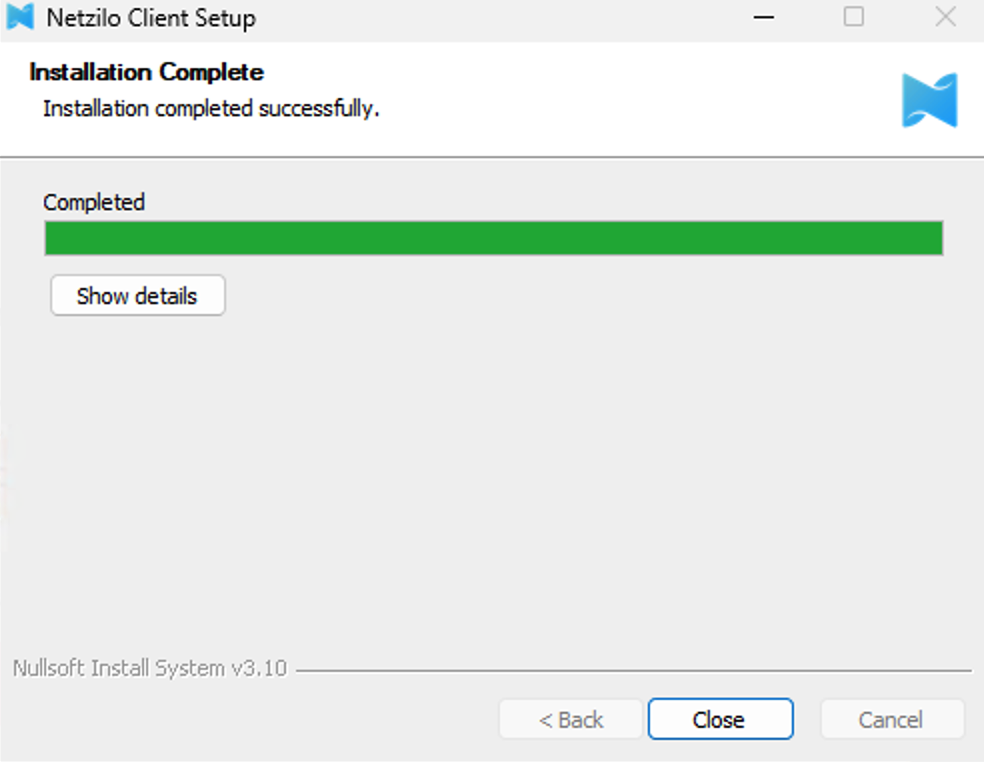
After closing the installation wizard, your browser will automatically display the Login successful message.
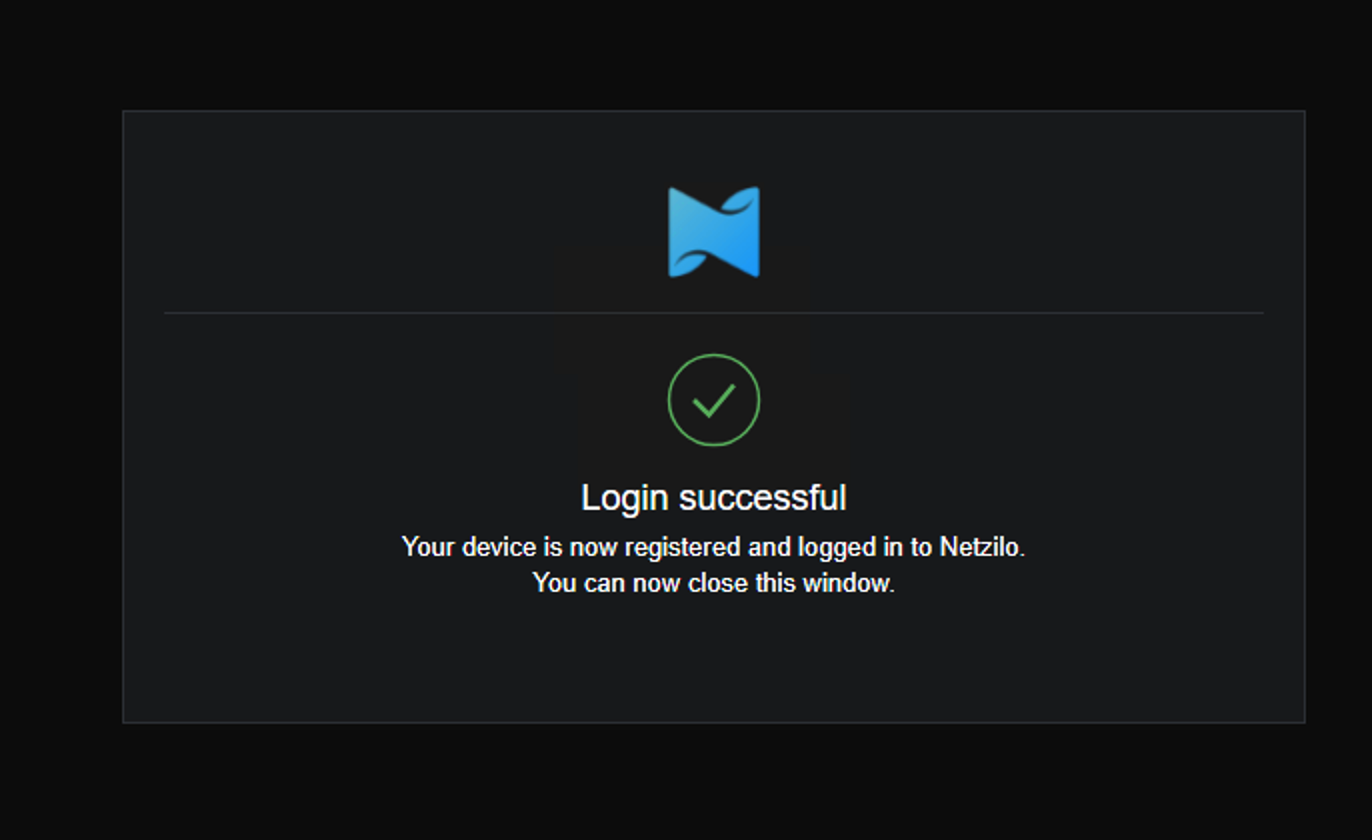
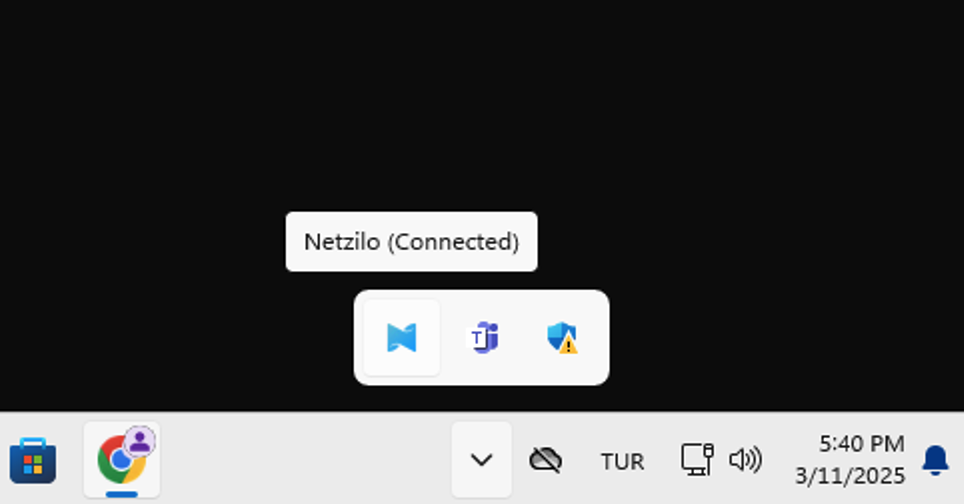
We expect the Netzilo icon in the system tray to turn blue and display Connected as shown below. This indicates that the agent installation and user login were successful. You can now access your work applications. If the Login successful message does not appear, proceed to the next step.
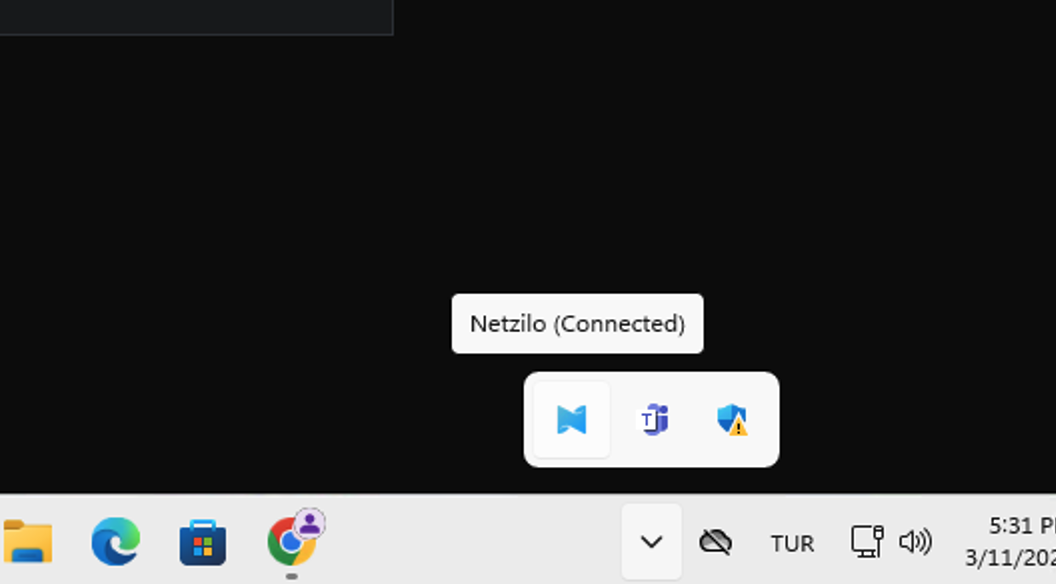
After installing the agent, you can manage your connection at any time by clicking the Netzilo agent icon in the system tray, as shown below. If you're not connected, click Connect to establish the connection.
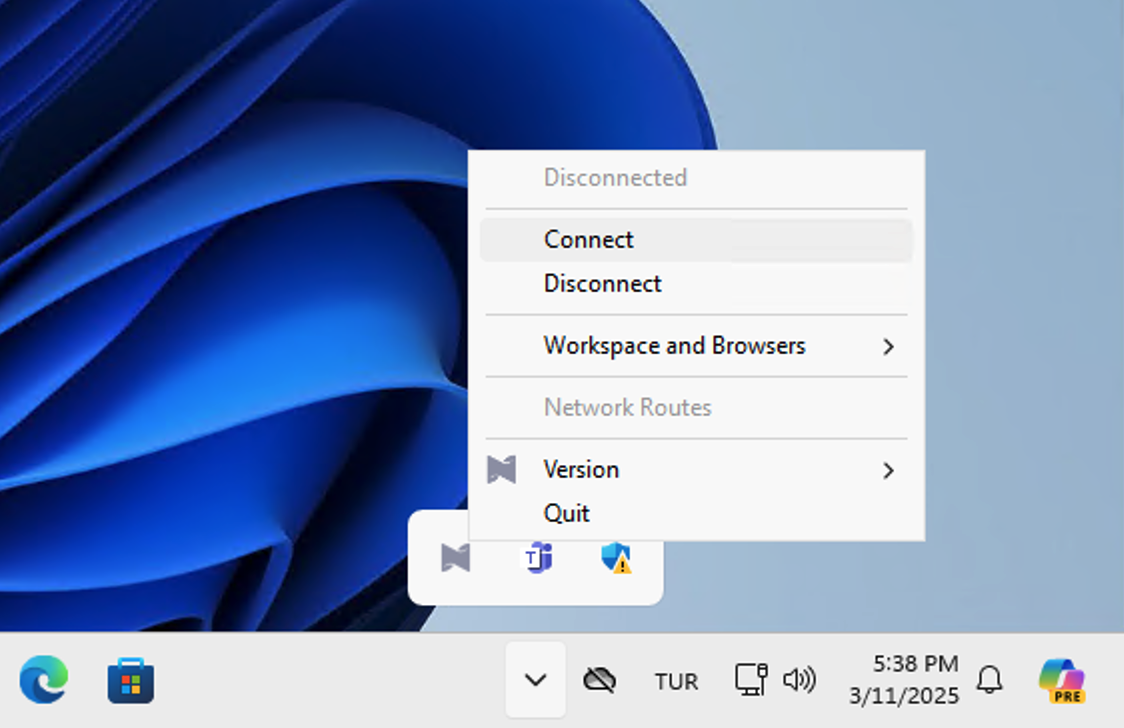
Subsequently, the login portal will open in your browser. Enter your email address as before and click the Next button.
![]()
Then, as previously done, enter your password and click the Next button.
![]()
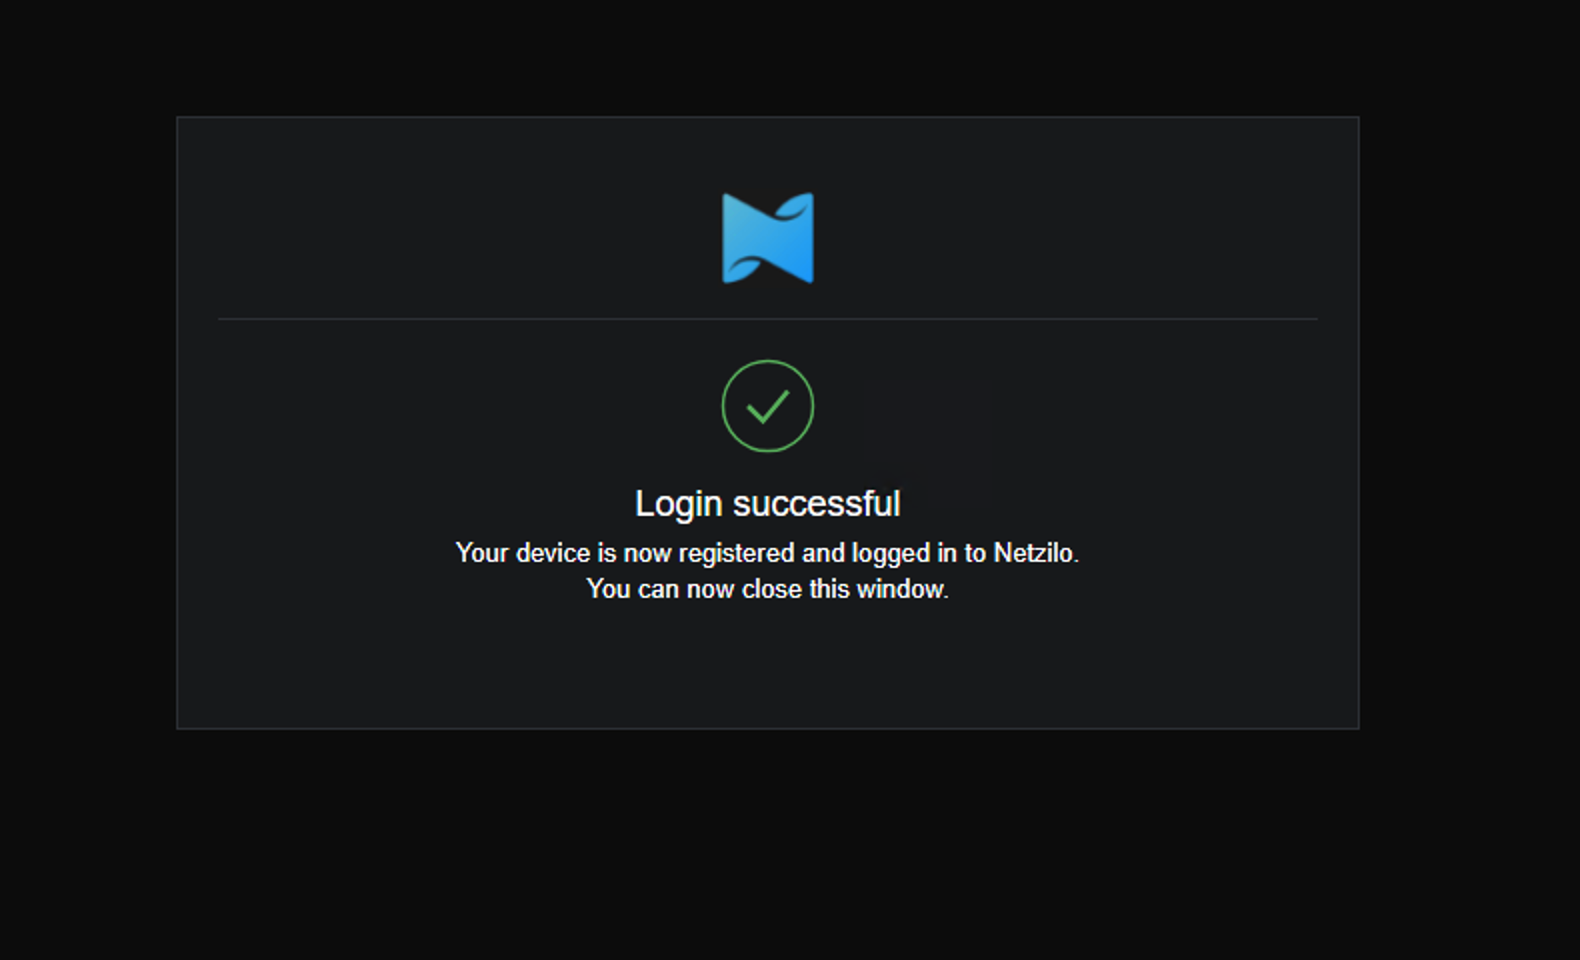
Afterward, we expect to see the message Login Successful Once this message appears, the system has successfully connected.
We can also confirm the successful connection by checking the Netzilo logo in the system tray, which will turn blue as shown below.
If you require installation details for other platforms, you can find more information at this link.
Running Netzilo with SSO Login
Desktop UI Application
If you installed the Desktop UI client, you can launch it and click on Connect.
It will open your browser, and you will be prompt for email and password. Follow the instructions.
CLI
Alternatively, you could use command line. Simply run
netzilo up
It will open your browser, and you will be prompt for email and password. Follow the instructions.
Check connection status:
netzilo status
Running Netzilo with a Setup Key
In case you are activating a server peer, you can use a setup key as described in the steps below.
This is especially helpful when you are running multiple server instances with infrastructure-as-code tools like ansible and terraform.
- Login to the Management Service. You need to have a
setup keyin hand (see setup keys).
For all systems:
netzilo up --setup-key <SETUP KEY>
For Docker, you can run with the following command:
docker run --network host --privileged --rm -d -e NB_SETUP_KEY=<SETUP KEY> -v netzilo-client:/etc/netzilo netzilo/netzilo:<TAG>
TAG > 0.6.0 version
Alternatively, if you are hosting your own Management Service provide --management-url property pointing to your Management Service:
netzilo up --setup-key <SETUP KEY> --management-url http://localhost:33073
You could also omit the
--setup-keyproperty. In this case, the tool will prompt for the key.
- Check connection status:
netzilo status
- Check your IP:
On macOS :
sudo ifconfig utun100
On Linux:
ip addr show wt0
On Windows:
netsh interface ip show config name="wt0"
Running Netzilo in Docker
Set the NB_SETUP_KEY environment variable and run the command.
You can pass other settings as environment variables. See environment variables for details.
Netzilo makes use of eBPF and raw sockets, therefore to guarantee the client software functionality, we recommend adding the flags --cap-add=SYS_ADMIN and --cap-add=SYS_RESOURCE for docker clients.
The experience may vary depending on the docker daemon, operating system, or kernel version.
docker run --rm --name PEER_NAME --hostname PEER_NAME --cap-add=NET_ADMIN --cap-add=SYS_ADMIN --cap-add=SYS_RESOURCE -d -e NB_SETUP_KEY=<SETUP KEY> -v netzilo-client:/etc/netzilo netzilo/netzilo:latest
See Docker example for details.
Troubleshooting
-
If you are using self-hosted version and haven't specified
--management-url, the client app will use the default URL which ishttps://app.netzilo.com:33073. -
If you have specified a wrong
--management-url(e.g., just by mistake when self-hosting) to override it you can do the following:
netzilo down
netzilo up --management-url https://<CORRECT HOST:PORT>/
To override it see the solution #1 above.
- Follow us on Linkedin
- Join our Slack Channel

